


As-tu un compte ?
Connecte-toi pour finaliser ta commande plus rapidement.
Choisis plus de couleurs et profite d'une réduction :


Choisis plus de couleurs et profite d'une réduction :
Sélectionné : Aucun
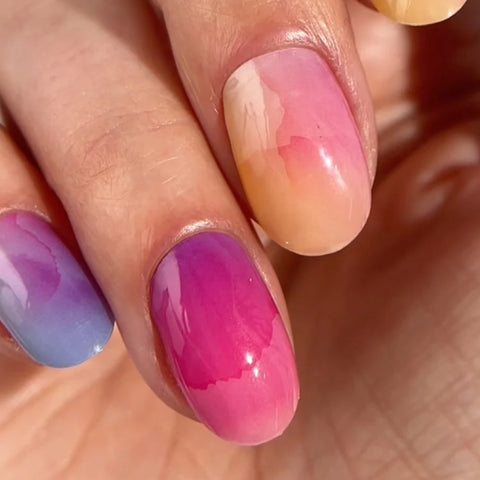
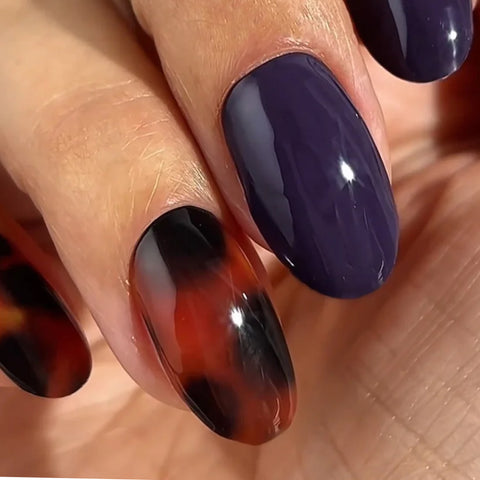
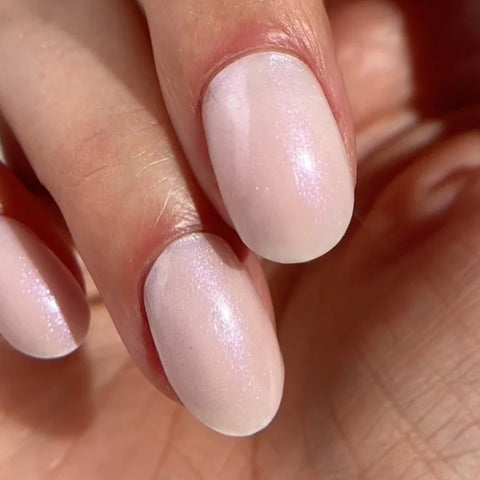
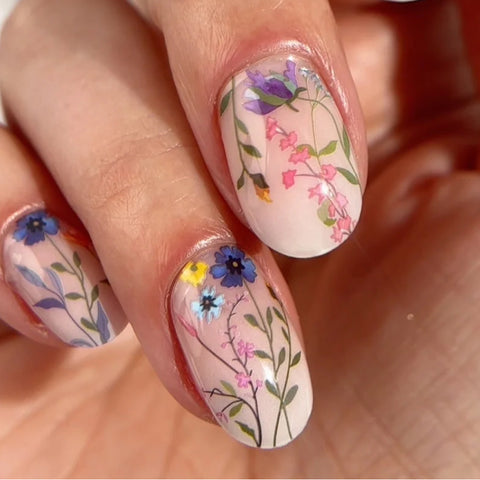
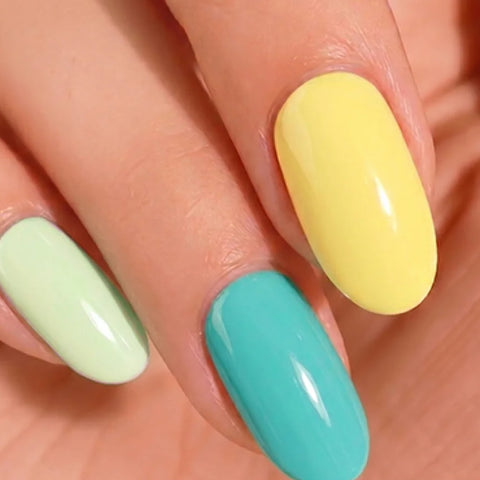
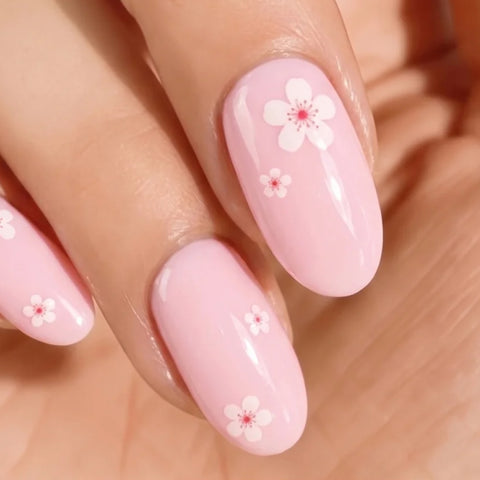
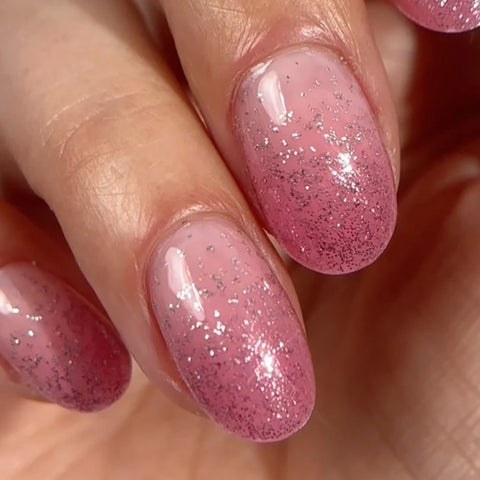
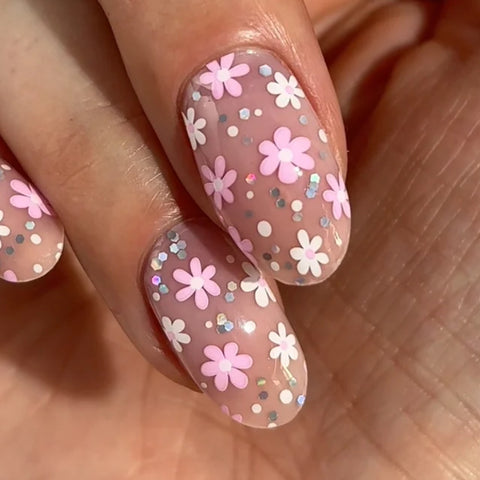
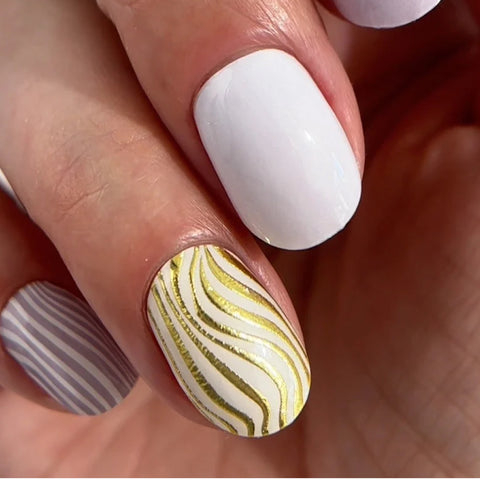
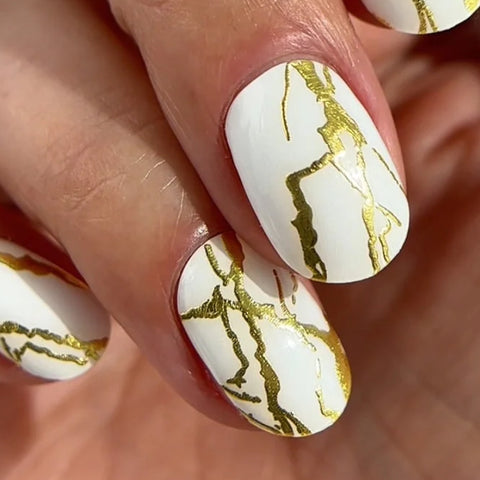
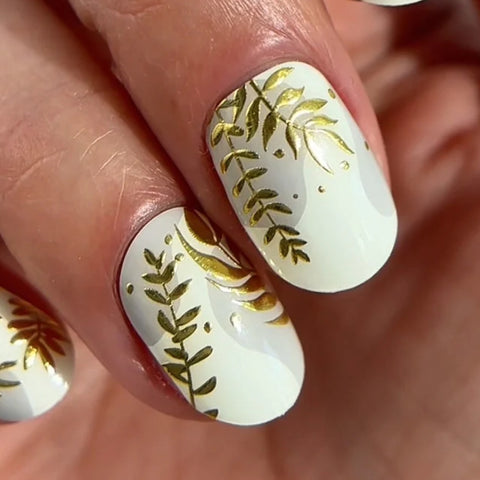
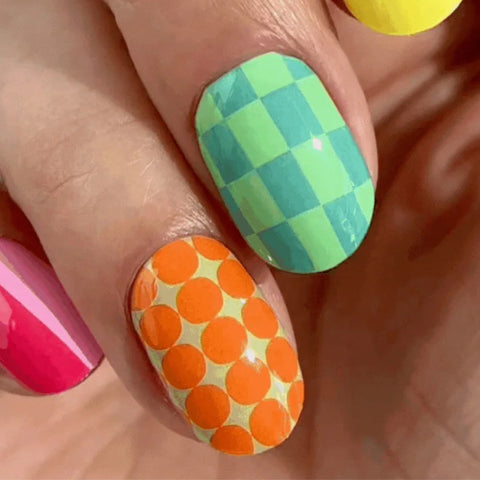
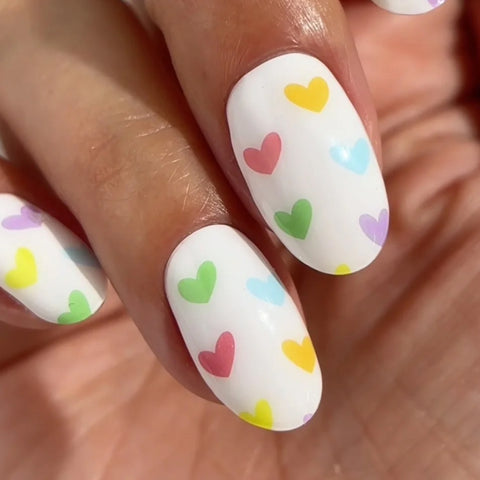
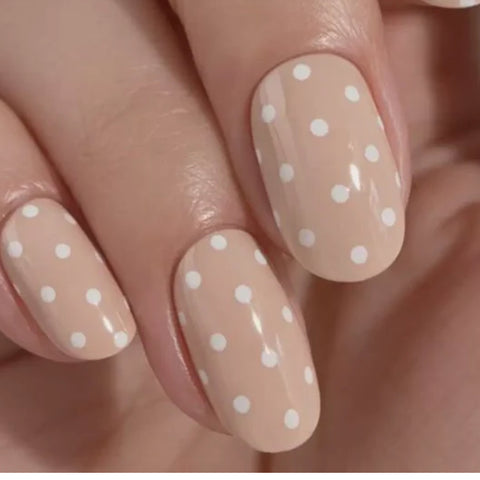
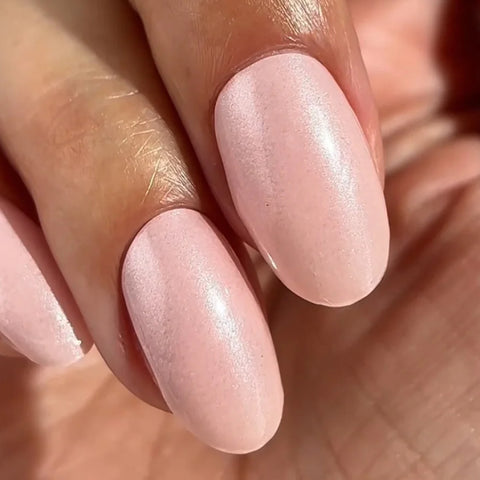
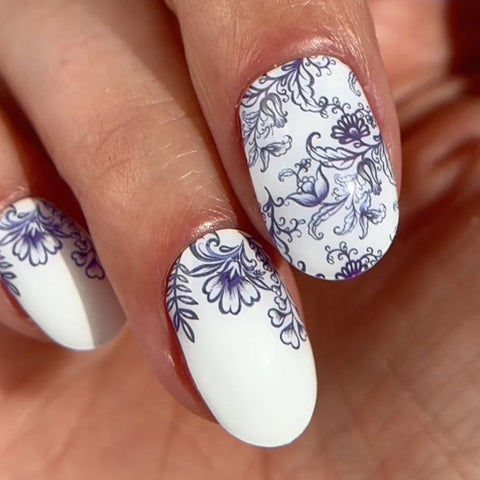
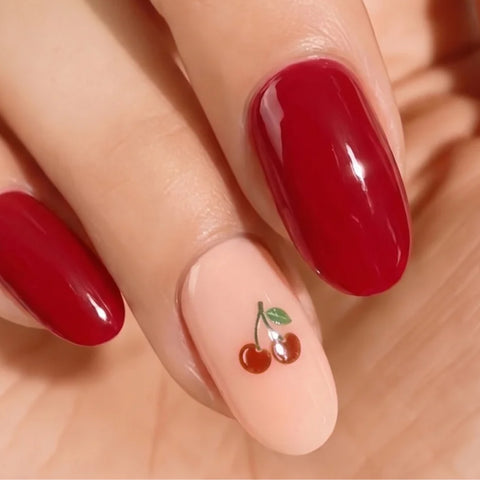
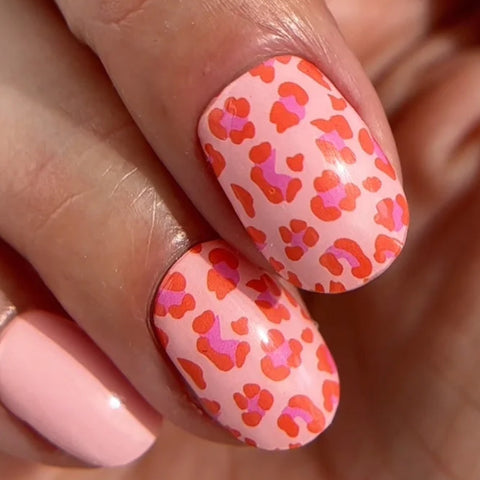
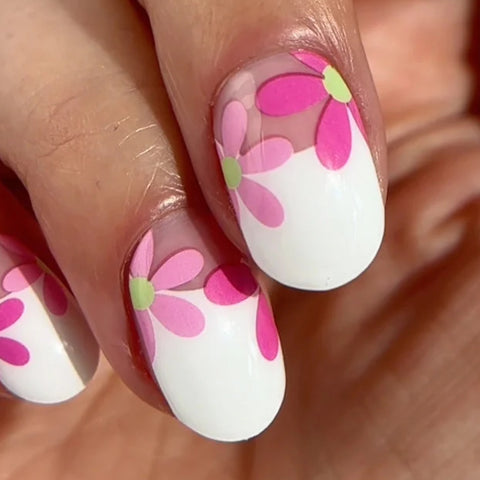
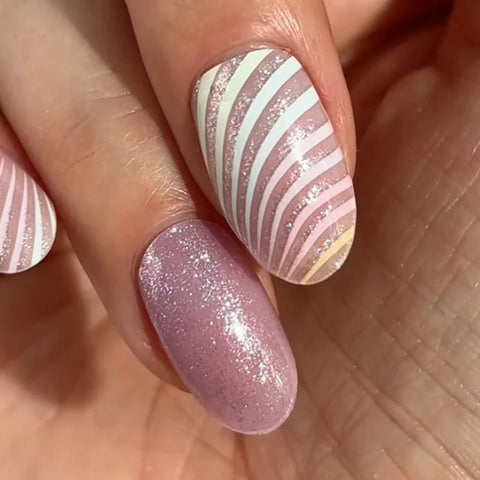
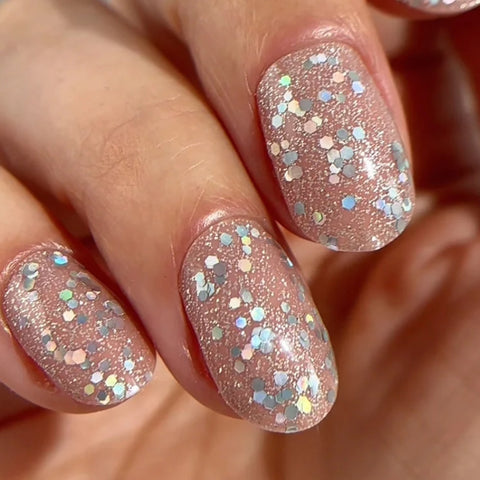
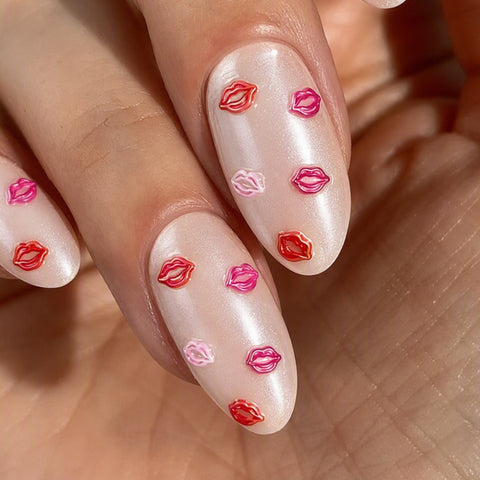
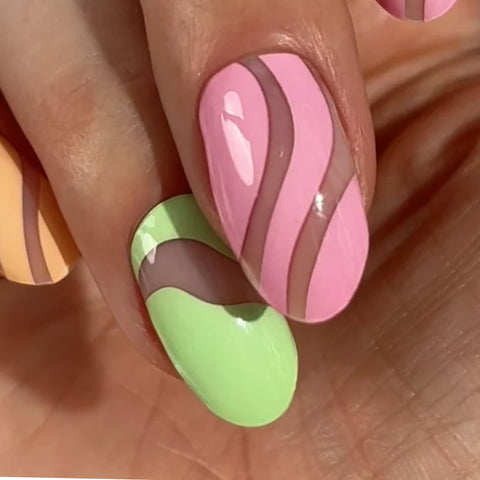
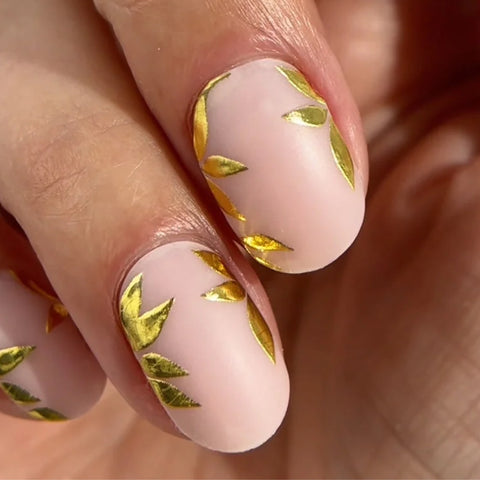
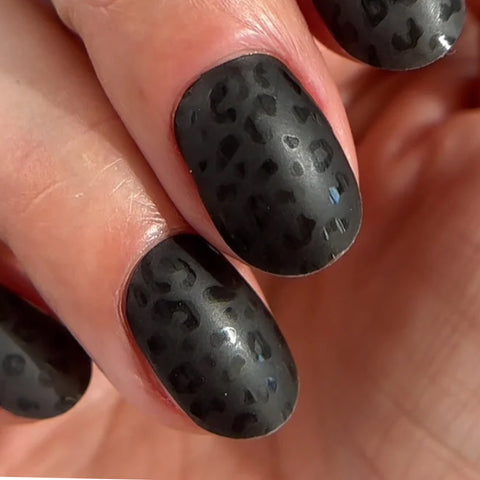
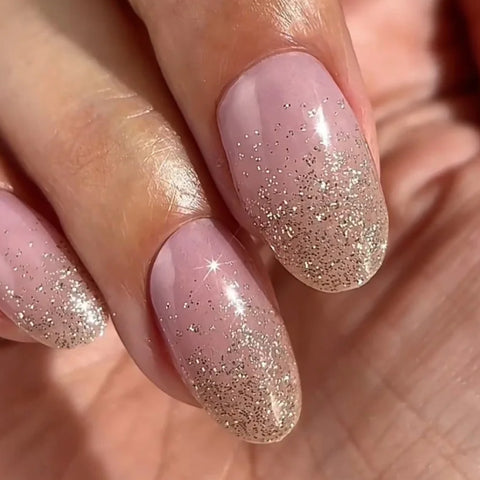
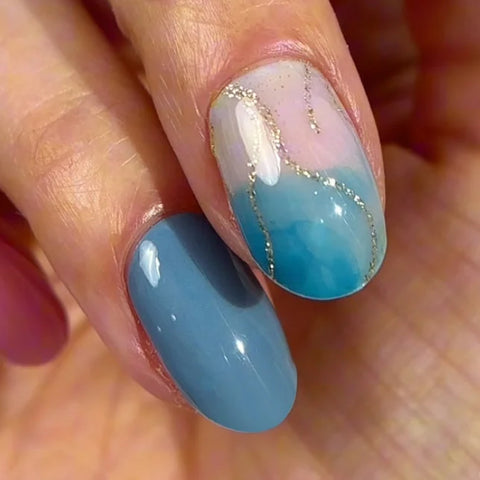
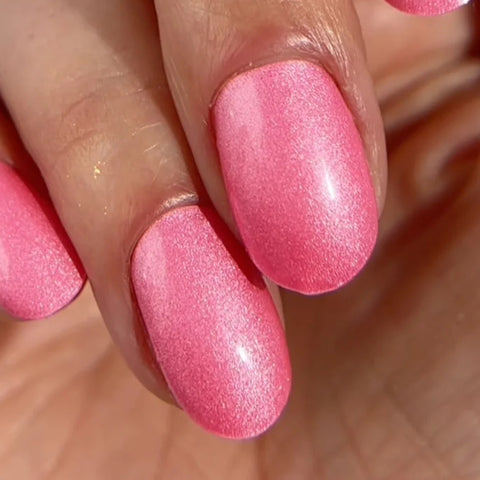
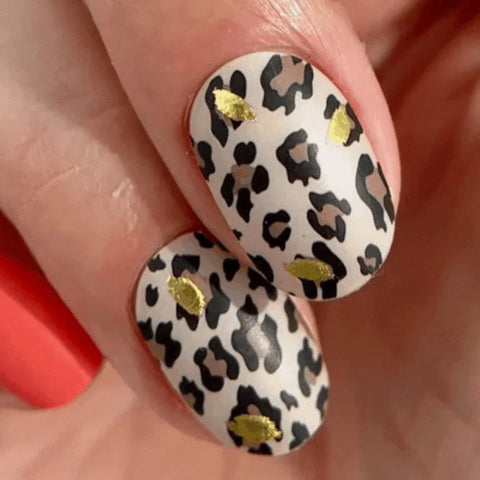
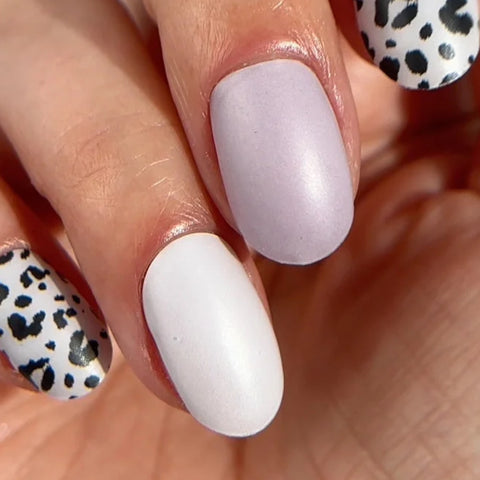
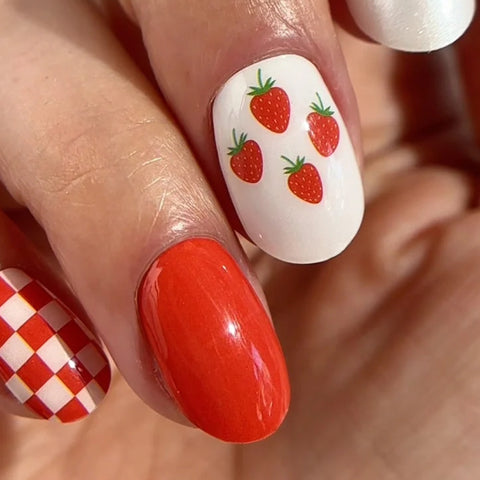
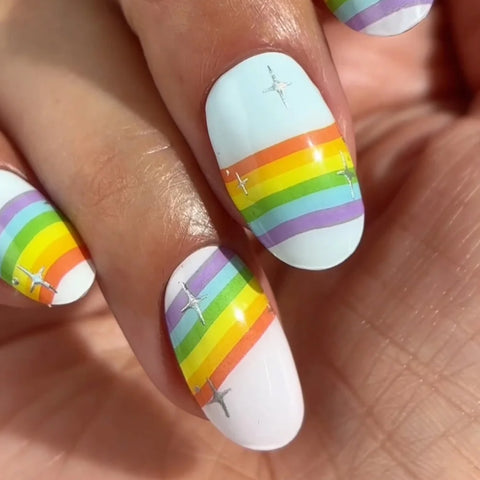
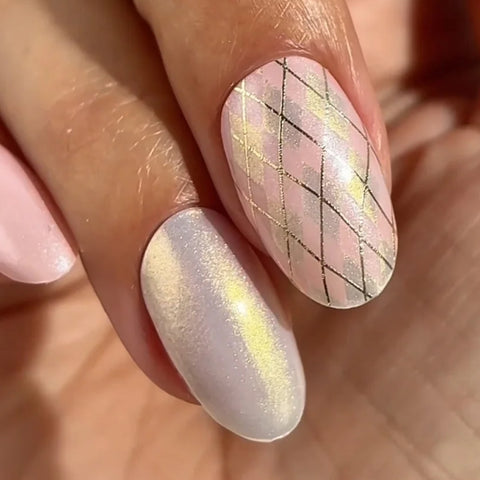
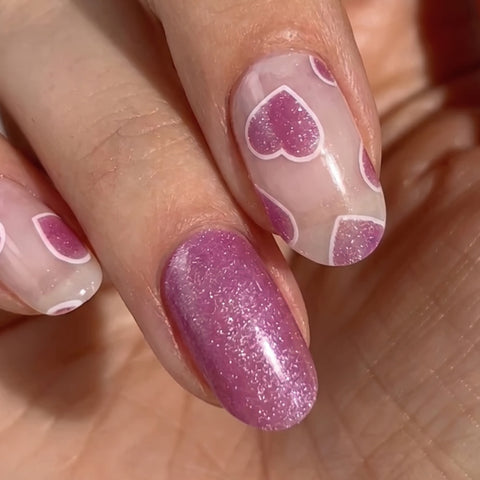
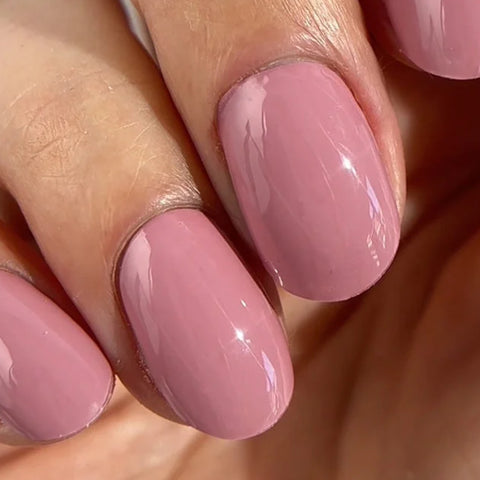
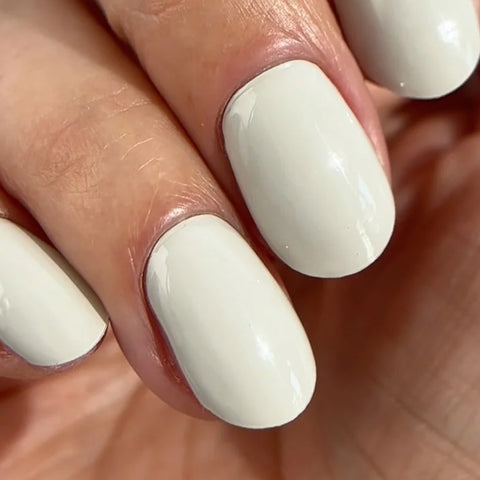
Pour ajouter une couleur, veuillez la sélectionner dans le sélecteur de couleurs puis cliquer sur le bouton « ajouter »
Pour ajouter de la couleur, veuillez d'abord la sélectionner
Free delivery over €50
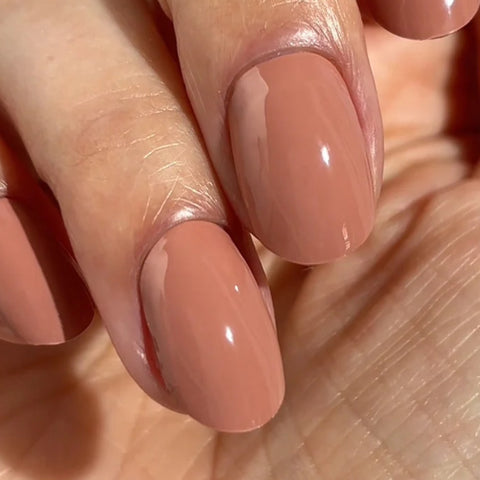
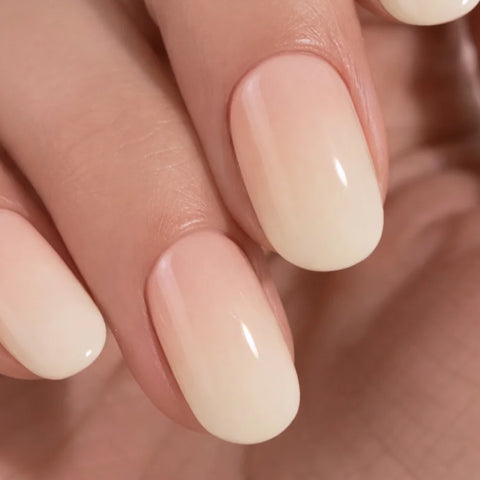
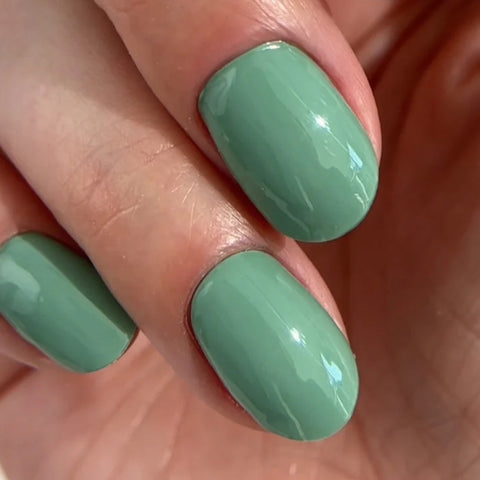
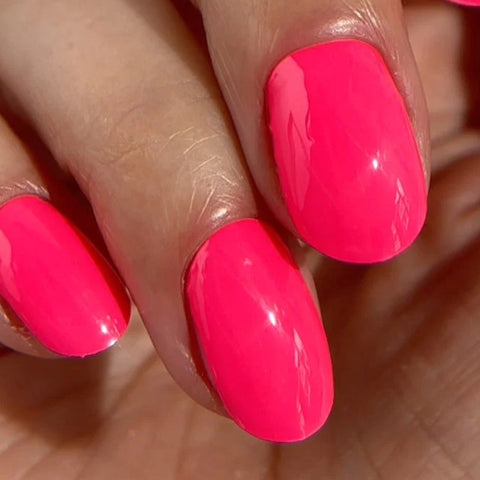
Avec les Gel Nail Wraps, adopte la manucure la plus simple et la plus douce
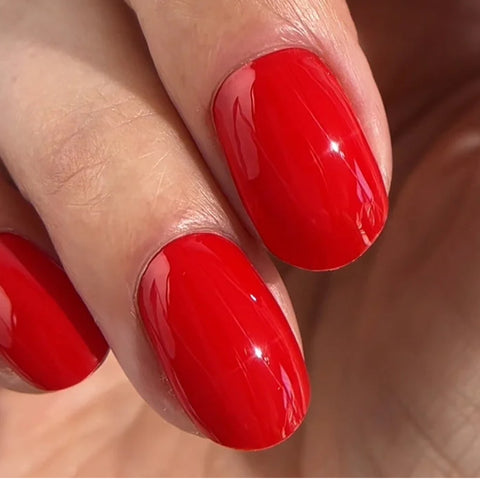
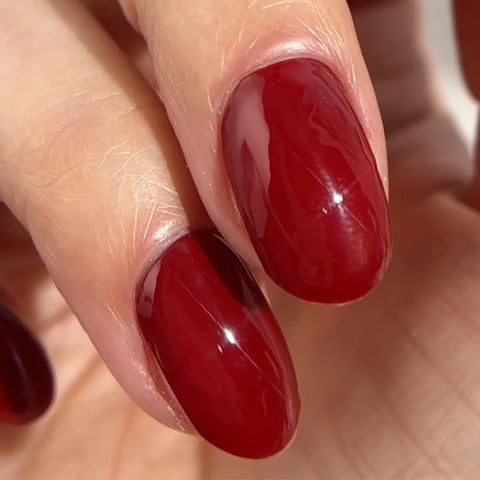
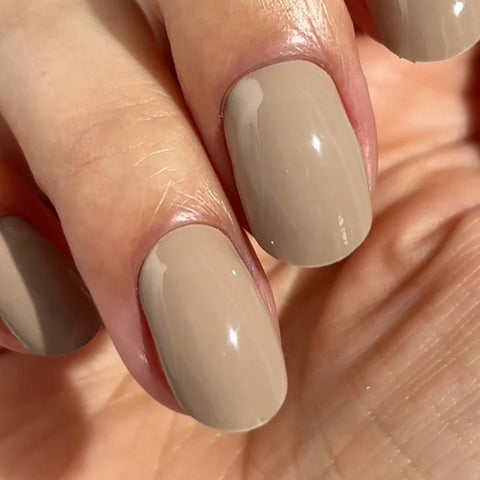
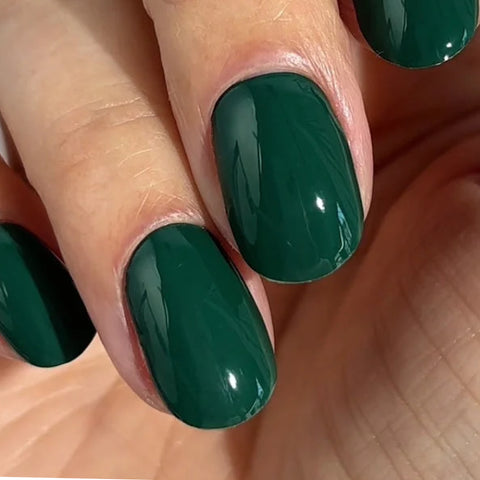
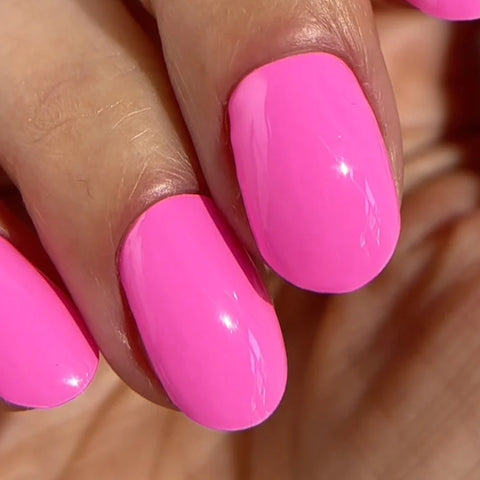
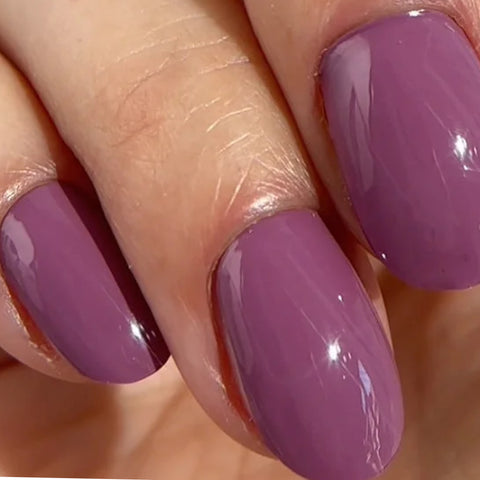
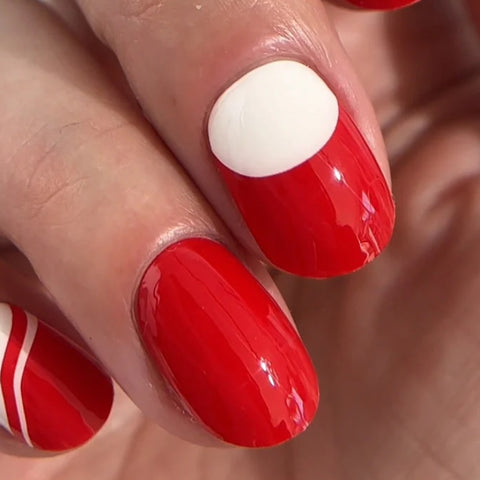
Un rouge écarlate profond, vif, audacieux et sans compromis. As Red As It Gets réinvente le rouge classique avec une touche d’énergie et de modernité. Parfait quand tu veux une manucure qui ne passe pas inaperçue. Si tu aimes le rouge, celui-ci va te faire chavirer.
Ces wraps déjà polymérisés sont fabriqués à partir de véritable vernis semi-permanent, pour une manucure impeccable digne d’un institut, en un rien de temps. Pas besoin de lampe LED/UV ni de vernis : il suffit de décoller, poser et lisser pour un fini parfait, sans temps de séchage, sans bavures et sans faute. Envie de changer ? La dépose ne prend que quelques minutes.
La pochette contient :
- 2 x planche 10 vernis gel autocollants
- 1 lime double face grain 180-240
- 1 batonnet de buis
- 1 manuel d'utilisation
Remarque : en raison des variations de qualité entre les différents écrans, la couleur qui apparaît sur votre écran peut différer de celle du produit physique.
Précautions d'emploi: Pour usage externe uniquement. Tenir hors de portée des enfants. À appliquer uniquement sur les ongles. Éviter tout contact prolongé avec la peau. Ne pas utiliser sur le corps. Peut provoquer une réaction allergique cutanée. En cas d’irritation ou d’éruption, consulter un médecin.
Les produits Mylee sont conformes à toutes les réglementations de sécurité en vigueur au Royaume-Uni et dans l’Union Européenne.
Code produit :MYL-GNW-0017
STEP 1. PUSH CUTICLES, BUFF & CLEANSE
Start by making sure your hands are clean and completely dry. File your nails straight across using the Mylee 240 Grit Nail File* and gently refine the edges to create a neat, even shape for the wraps to sit on.
Apply a small amount of Mylee Cuticle Remover* around the base of each nail, then gently push back the cuticles. Even small traces of cuticle can stop the wraps from adhering properly, so take your time with this step. If needed, use a Mylee Metal Cuticle Pusher* to remove any excess skin from the nail plate and ensure a clean, smooth surface.
Buff the nail surface to remove natural shine and create a smooth base for application. Cleanse each nail using a Mylee Lint-Free Wipe* soaked in Mylee 2-in-1 Nail Prep & Wipe* to remove any dust or oils. If you don’t have these, wash your hands with warm, soapy water and dry thoroughly. If your nails tend to be oily, apply Mylee Nail Dehydrator* after cleansing to remove any remaining moisture.
STEP 2. APPLY & PRESS FIRMLY
Choose your favourite design and select the correct size wrap for each nail. If you’re between sizes, choose the slightly larger wrap and trim to fit. For small adjustments, you can gently stretch the wrap so it sits neatly along the sides of the nail.
Peel the wrap from the sheet, touching only the end that won’t go on the nail. Apply it as close to the cuticle as possible without touching the skin.
Press the wrap firmly from the centre outwards to smooth it down and prevent air bubbles. Then use your thumb to press along the sides and edges, ensuring the wrap sits flat and evenly across the nail.
STEP 3. TRIM & ALIGN PRECISELY
Trim any excess wrap as close to your natural nail length as possible using Mylee Curved Edged Scissors*. Ensuring the wrap aligns perfectly with the edge of your nail is key to preventing lifting.
Check that the wrap sits flush with the tip of the nail and isn’t overhanging. If needed, lightly file underneath the free edge using a Mylee 180 Grit Nail File*, working in one direction only (top to bottom) to remove any remaining excess and refine the finish.
STEP 4. PRESS TO SEAL
Press firmly across the entire nail, focusing on the edges and tip to fully seal the wrap in place. This final press helps smooth the finish and secure the edges. Avoid applying oils or getting your hands wet for at least 2 hours after application to ensure maximum adhesion. Once set, enjoy a long-lasting mani with up to 14 days of wear.
*Products sold separately.
Discover our tips and tricks to get the best results when applying your Gel Nail Wraps!
PREP:
APPLICATION:
FILING:
AFTER CARE:


Lorem ipsum dolor sit amet consectetur. A mollis lorem maecenas risus pulvinar auctor bibendum quam commodo.

Gently push back cuticles with a Wooden Cuticle Stick. Lightly buff nail plates with the 180 grit side of the Dual Nail File to remove shine. Wipe nails with a Lint Free Wipe soaked in Prep & Wipe to eliminate oils for better wrap adhesion.

Choose your favorite design and match each wrap to your nail size. Remove the clear film, press the wrap onto the nail, and smooth out air bubbles. Use the Wooden Stick to press edges, then trim any extra with Curved Scissors.

Shape the free edge of each nail with a nail file to seal the wrap and prevent lifting. File in one direction for a smooth finish. This final step locks everything in—now you’re set for up to 14 days of glossy, chip-free wear.

Apply Stick & Wrap Remover Oil around each nail and let it soak for a few moments. Use the Wooden Stick to gently lift and slide off the wrap as the oil breaks the bond. Wipe away any residue and wash hands to finish clean and fresh.


