


As-tu un compte ?
Connecte-toi pour finaliser ta commande plus rapidement.
Choisis plus de couleurs et profite d'une réduction :


Choisis plus de couleurs et profite d'une réduction :
Sélectionné : Aucun


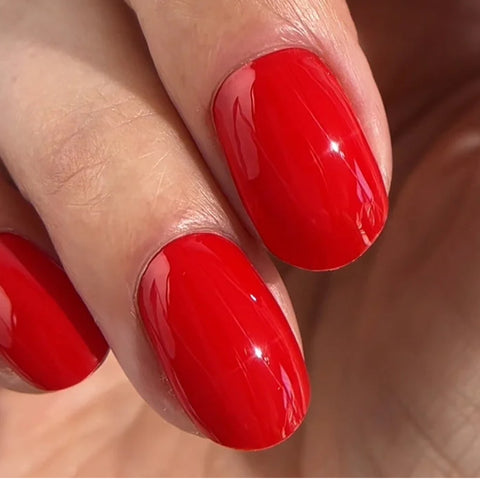

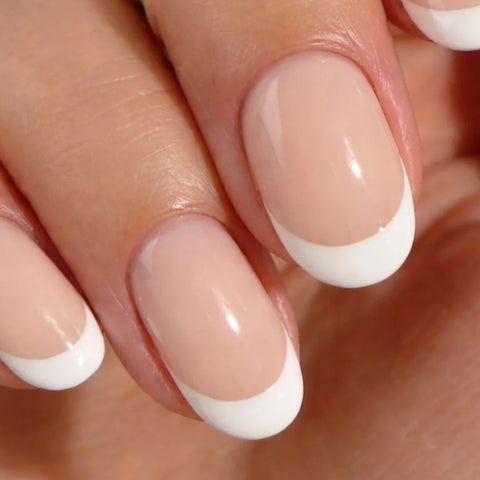
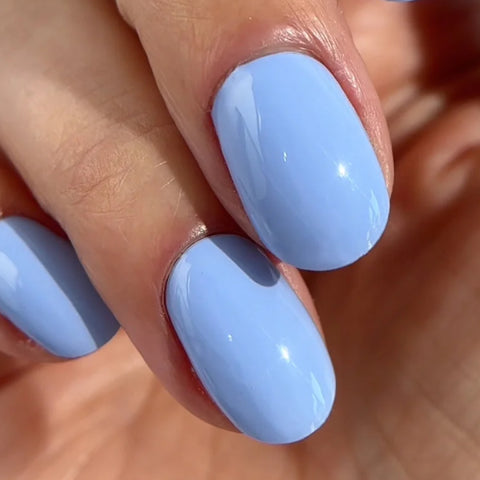
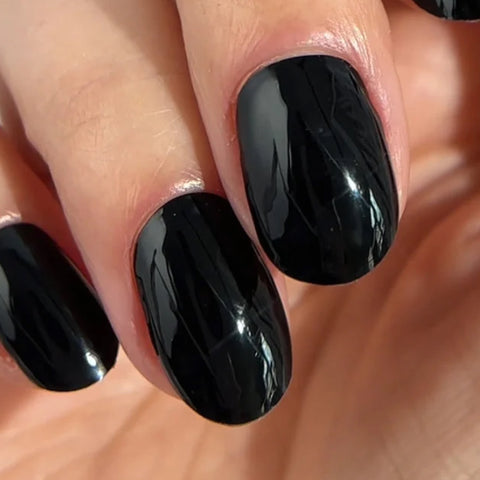
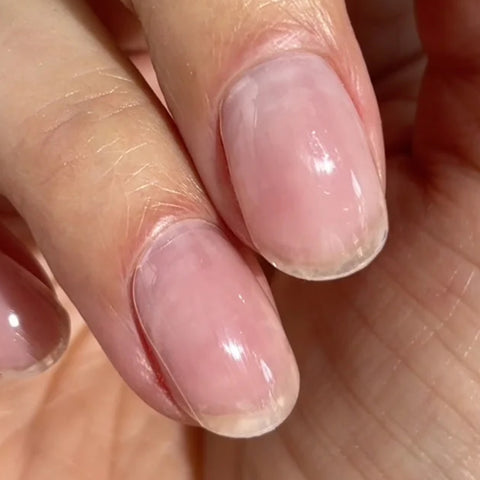
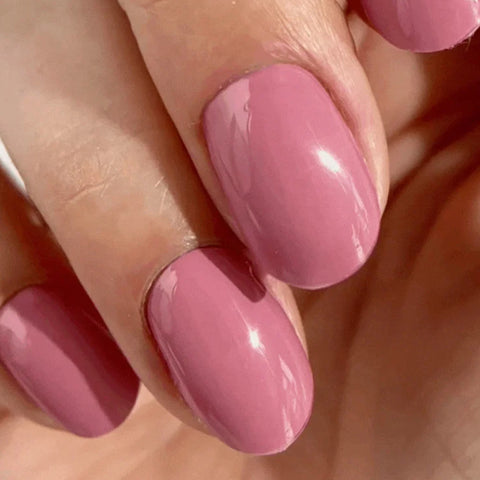
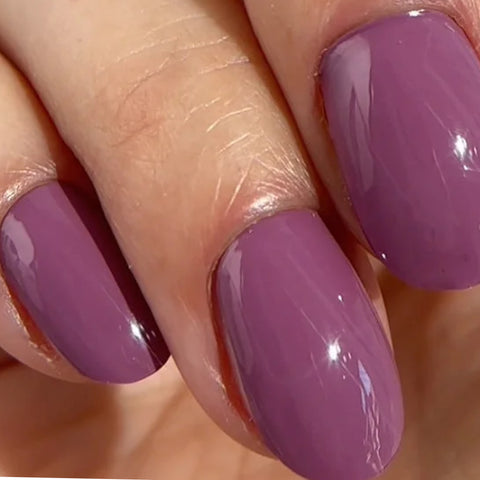
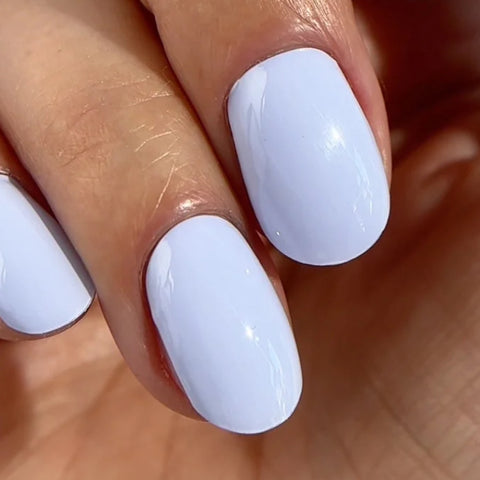

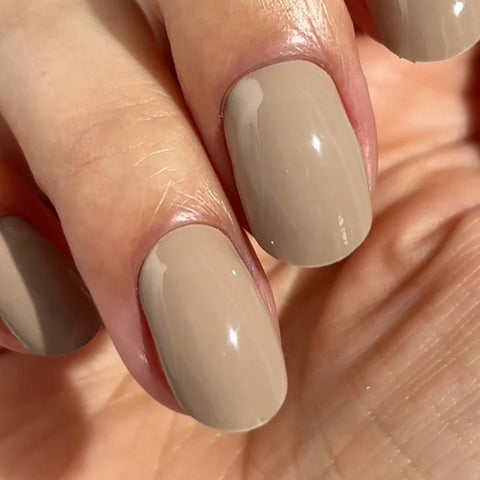

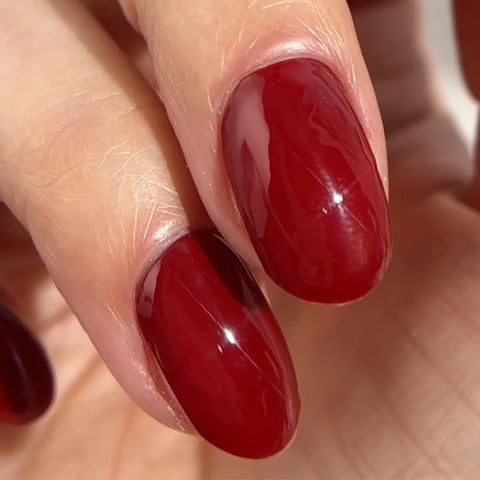
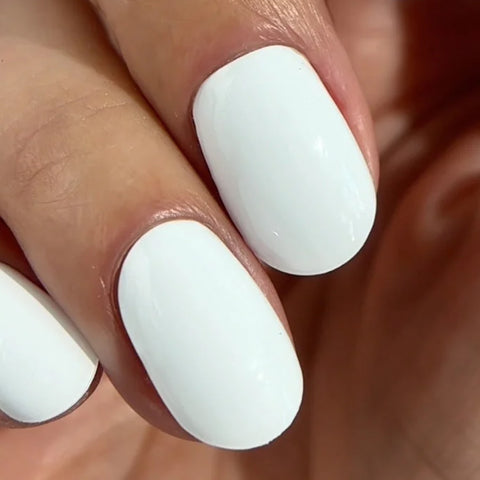
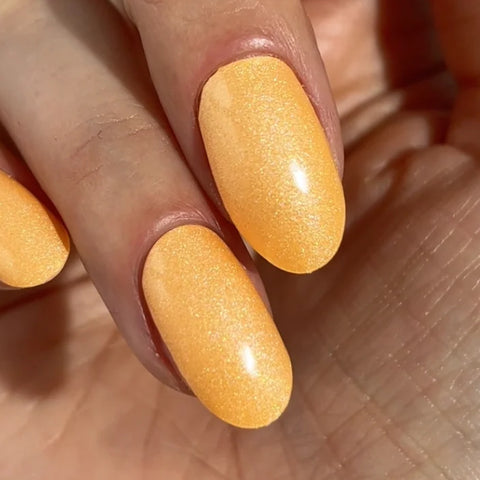
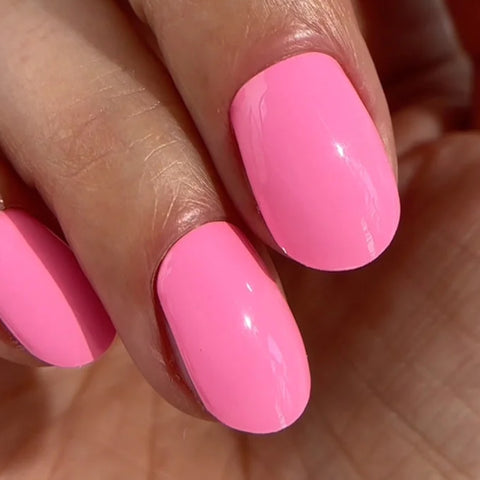
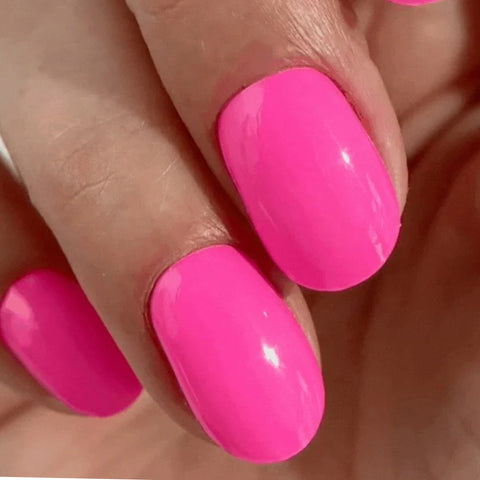
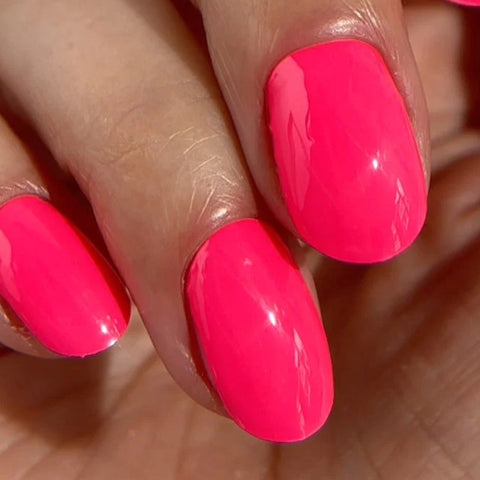
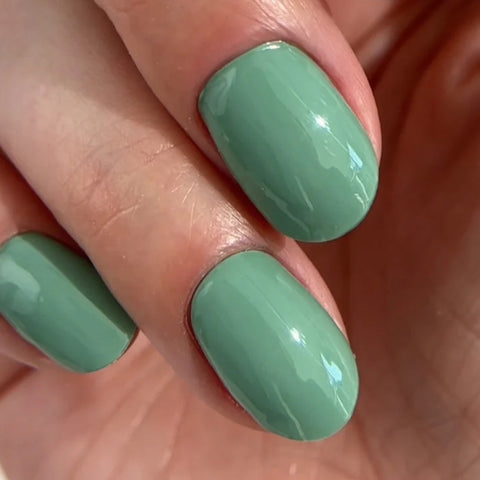
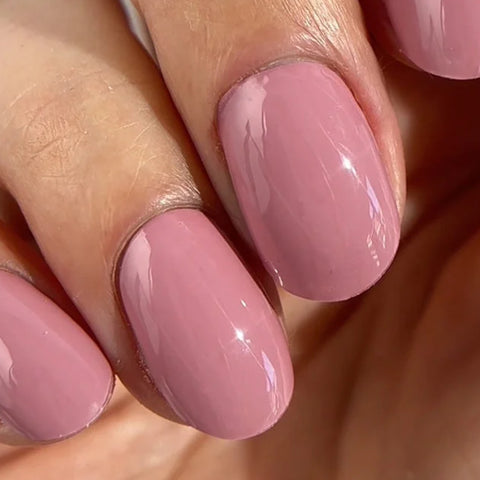
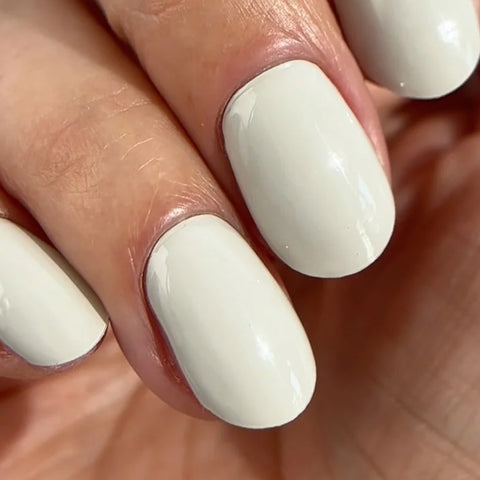
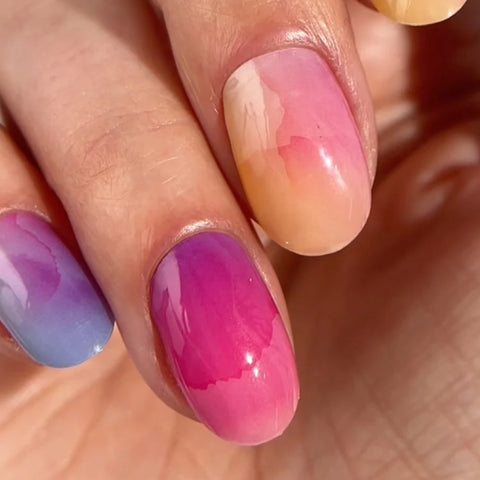
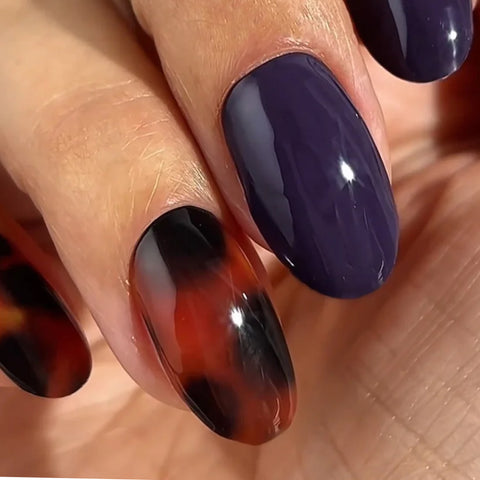
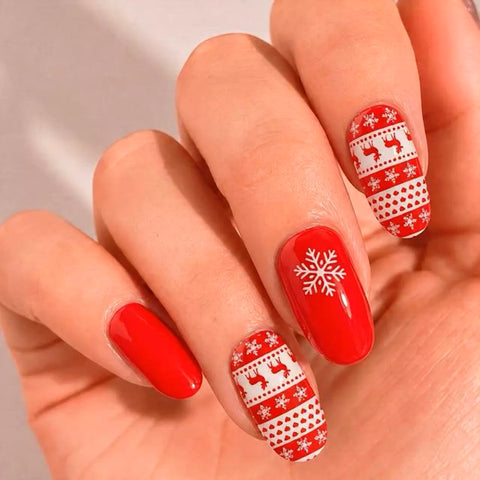
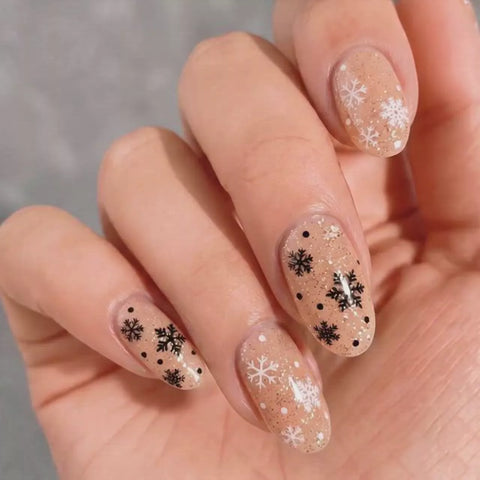
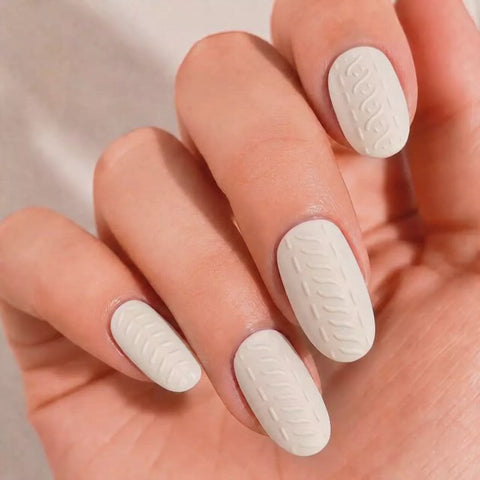
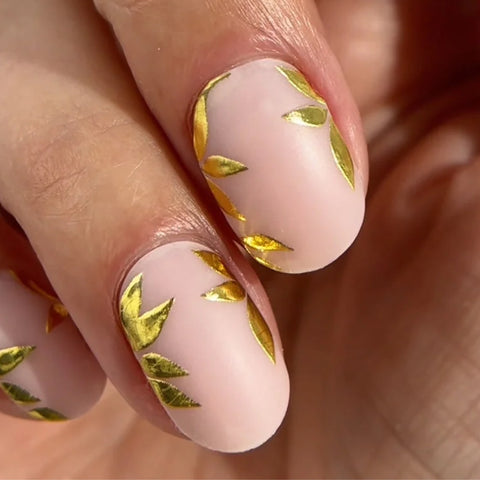
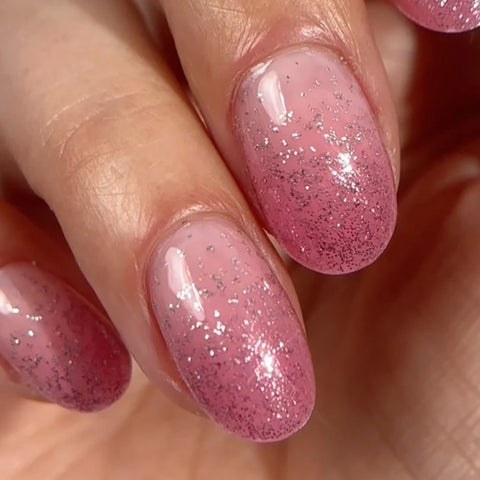
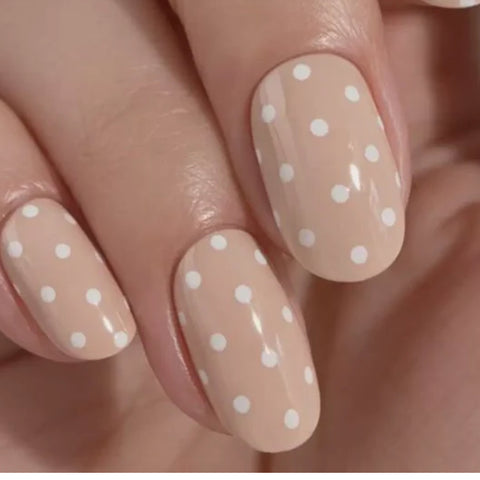
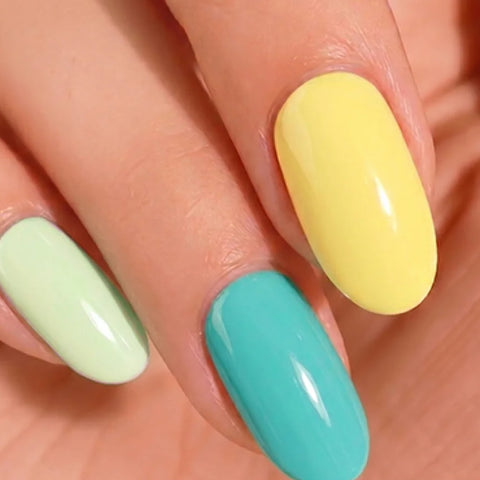
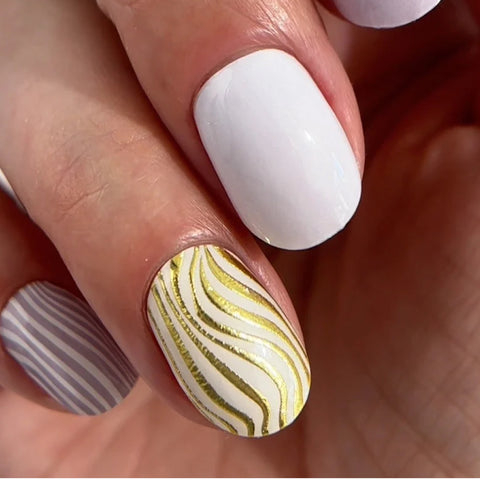
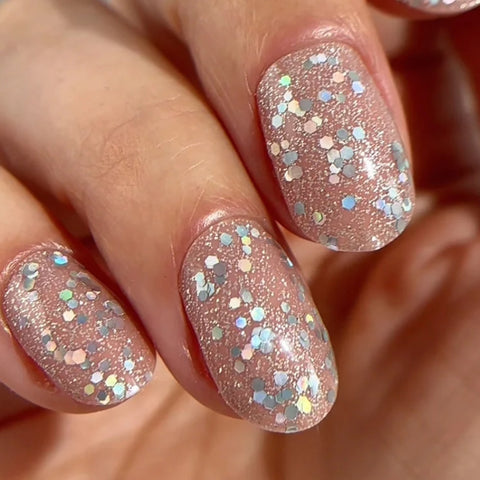
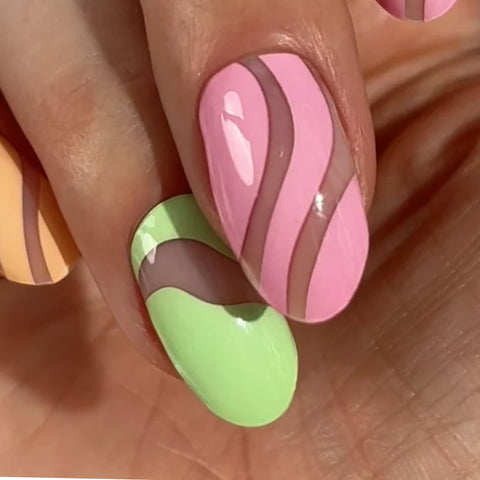
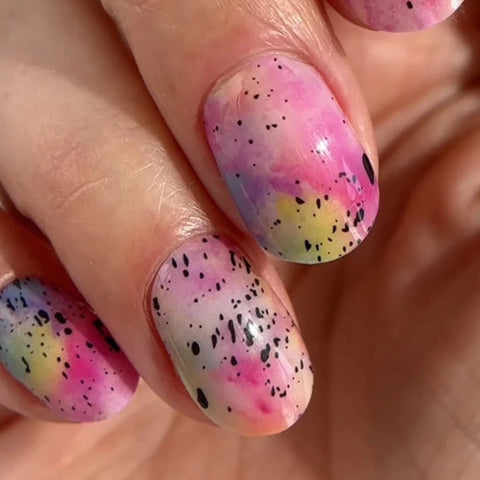
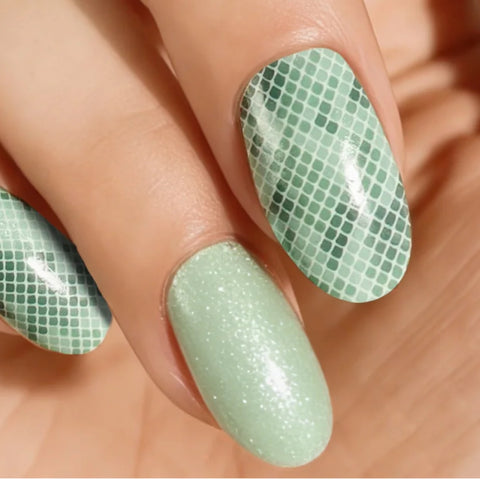
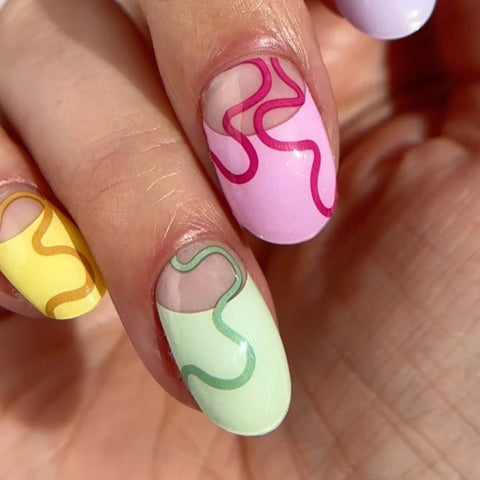
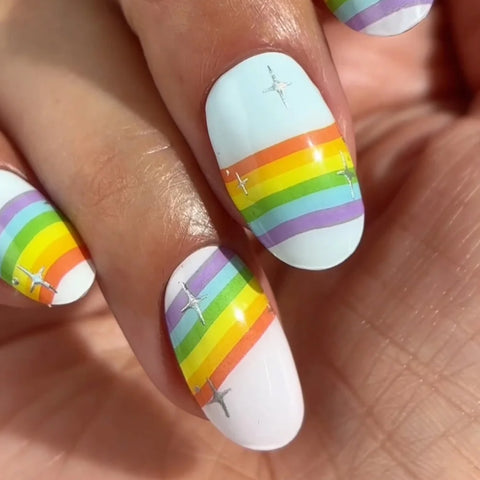
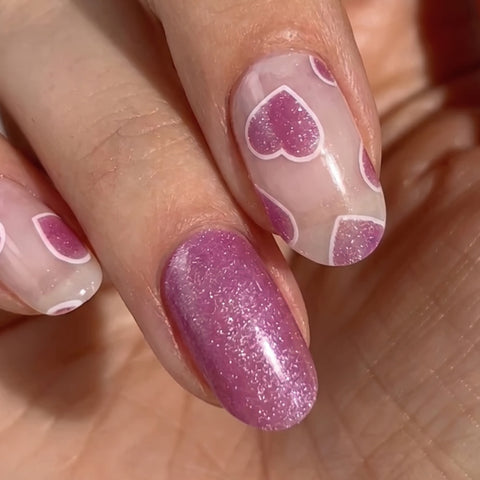
Pour ajouter une couleur, veuillez la sélectionner dans le sélecteur de couleurs puis cliquer sur le bouton « ajouter »
Pour ajouter de la couleur, veuillez d'abord la sélectionner
Livraison gratuite dès 50€ d'achat

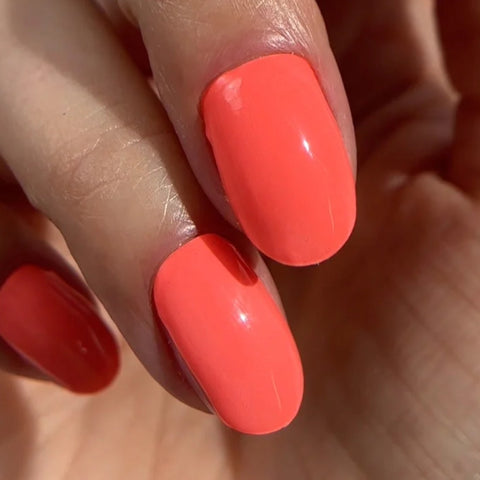
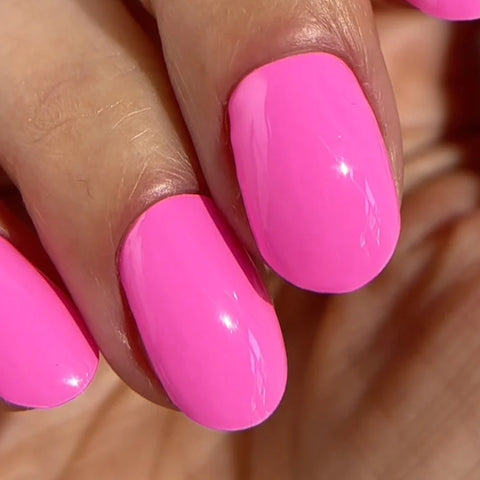
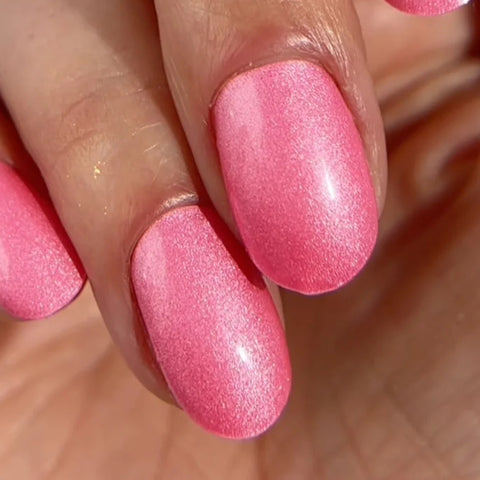
Vibrante et pleine de personnalité, Dragon Fruit est une teinte rose audacieuse qui ne passe pas inaperçue.
Éclatante et pleine de pep’s avec son fini lumineux, elle est faite pour des ongles qui attirent tous les regards.
Ces Vernis Gel Autocollants Pieds sont fabriqués à partir de véritable vernis semi-permanent pour une brillance intense et une tenue jusqu’à 21 jours. Pas besoin de laisser sécher, pas besin de lampe !
Il te suffit de décoller, appliquer, ajuster… et c’est prêt.
Parfait pour des sandales, une soirée entre amies ou des plans de dernière minute.
Envie d’un match parfait ? Associe-les au vernis semi-permanent ou aux Vernis Gel Autocollants pour les mains Dragon Fruit, pour une manucure et une pédicure coordonnées parfaitement coordonnées.
Code produit : MYL-GTW-0012
Assure-toi que tes pieds sont propres et parfaitement secs.
Astuce : si tes ongles sont gras, applique le déshydratant Mylee Nail Dehydrator*
Choisis la bonne taille de wrap (prends la plus petite en cas de doute).
Évite le contact avec l'eau et des corps gras pendant 2 heures
Résultat : jusqu’à 21 jours de tenue
Retrait rapide en 1 minute — N’abîme pas les ongles
DÉCOUVRE NOS ASTUCES POUR UNE POSE PARFAITE DES GEL NAIL WRAPS
PRÉPARATION


Lorem ipsum dolor sit amet consectetur. A mollis lorem maecenas risus pulvinar auctor bibendum quam commodo.


Repousse délicatement tes cuticules avec un bâtonnet en bois. Matifie légèrement la surface de l’ongle avec le côté grain 180 de la lime double face pour retirer la brillance. Nettoie ensuite tes ongles avec une lingette sans peluches imbibée de lotion Prep & Wipe afin d’éliminer les corps gras et assurer une meilleure adhérence des wraps.

Choisis ton modèle préféré et ajuste chaque wrap à la taille de ton ongle. Retire le film protecteur transparent, applique le wrap sur l’ongle et lisse pour éliminer les bulles d’air. Utilise le bâtonnet en bois pour bien presser les contours, puis coupe l’excédent à l’aide de ciseaux à lames courbes Mylee*.

Lime le bout de chaque ongle pour ajuster le wrap et éviter le décollement. Lime dans un seul sens, de haut en bas, pour une finition bien lisse. Cette dernière étape fixe le tout. À toi jusqu’à 14 jours de tenue brillante et impeccable.

Applique le dissolvante huile "Wrap Remover Oil" de Mylee* autour de wrap et laisse agir quelques instants. À l’aide du bâtonnet en bois, décolle délicatement le wrap et fais-le glisser pendant que l’huile dissout la partie collante. Essuie les éventuels résidus, puis lave tes mains pour une finition propre et fraîche.


