


-
Free delivery over €50
Description
Description
Mylee provides salons, professionals and home users with high-quality waxing products. We've got you covered through every stage of the waxing process, making sure you have the perfect equipment for the best results.
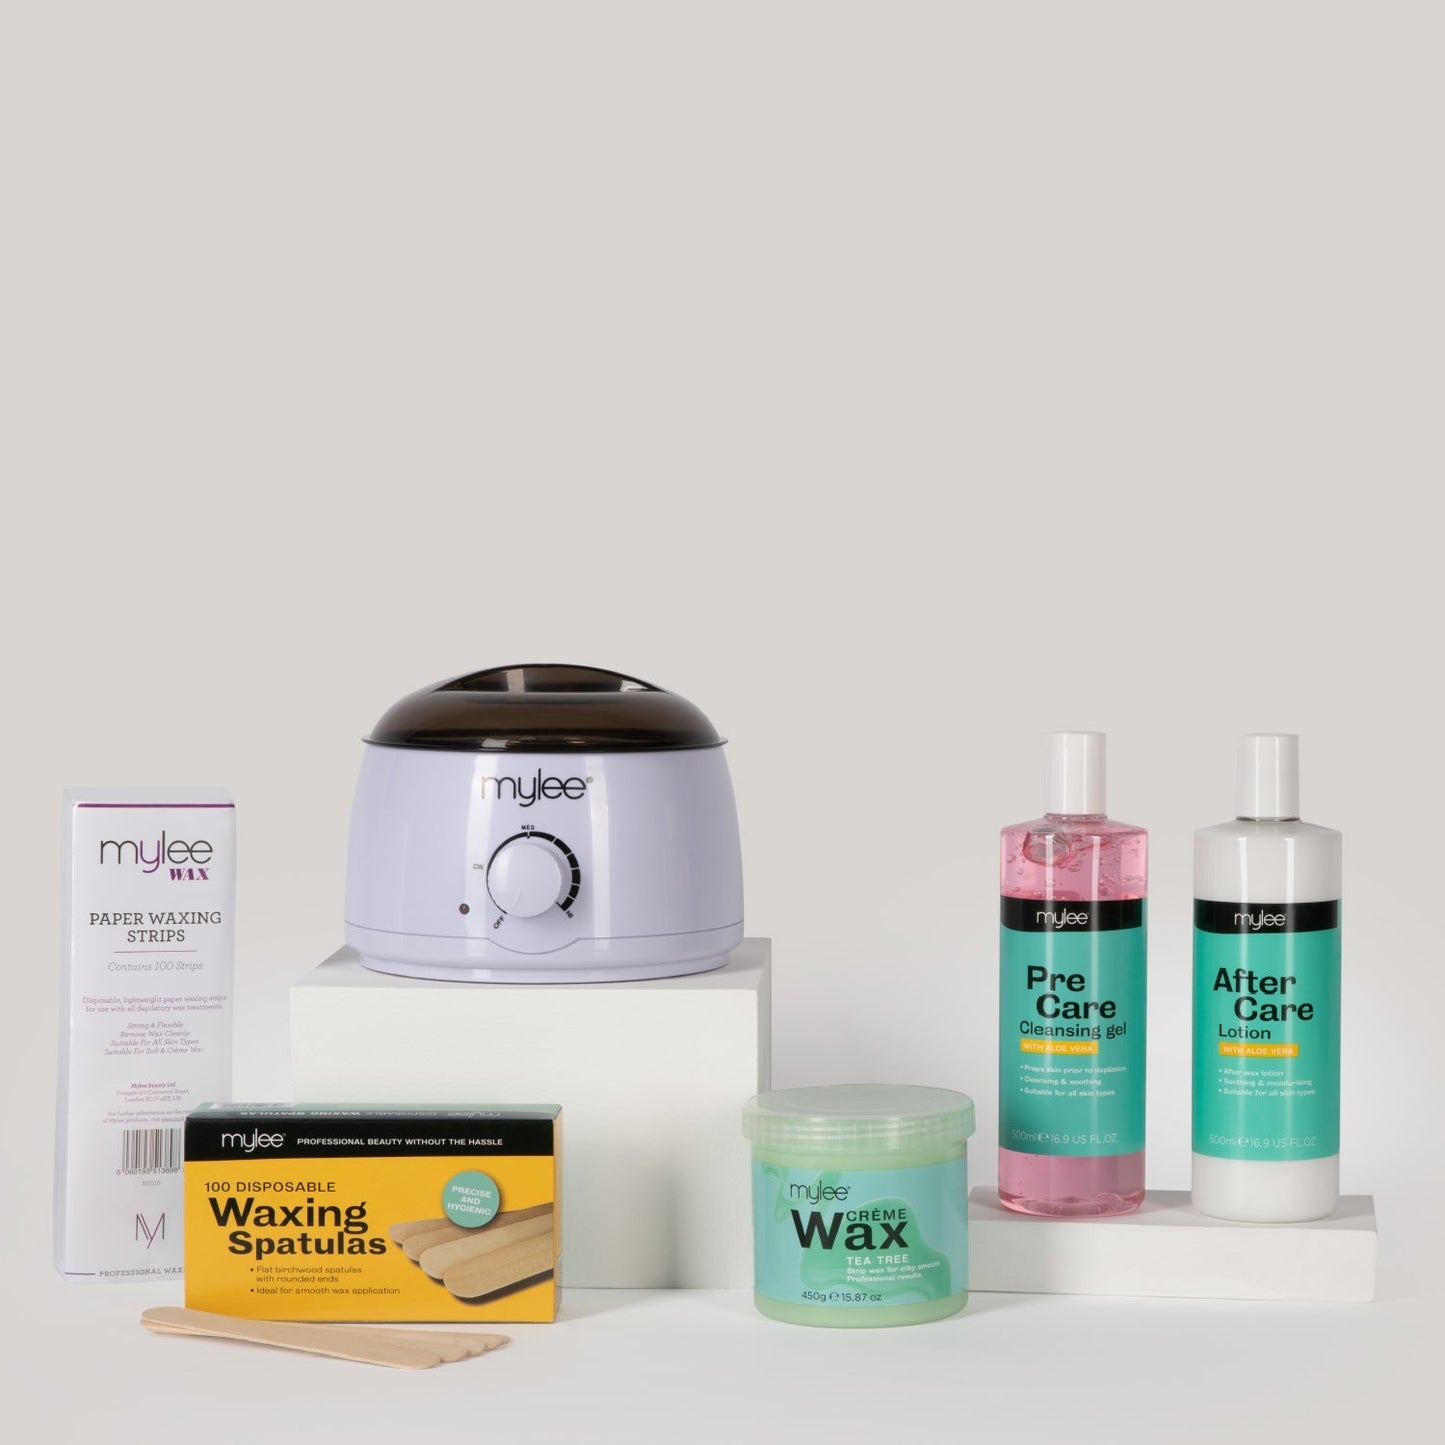
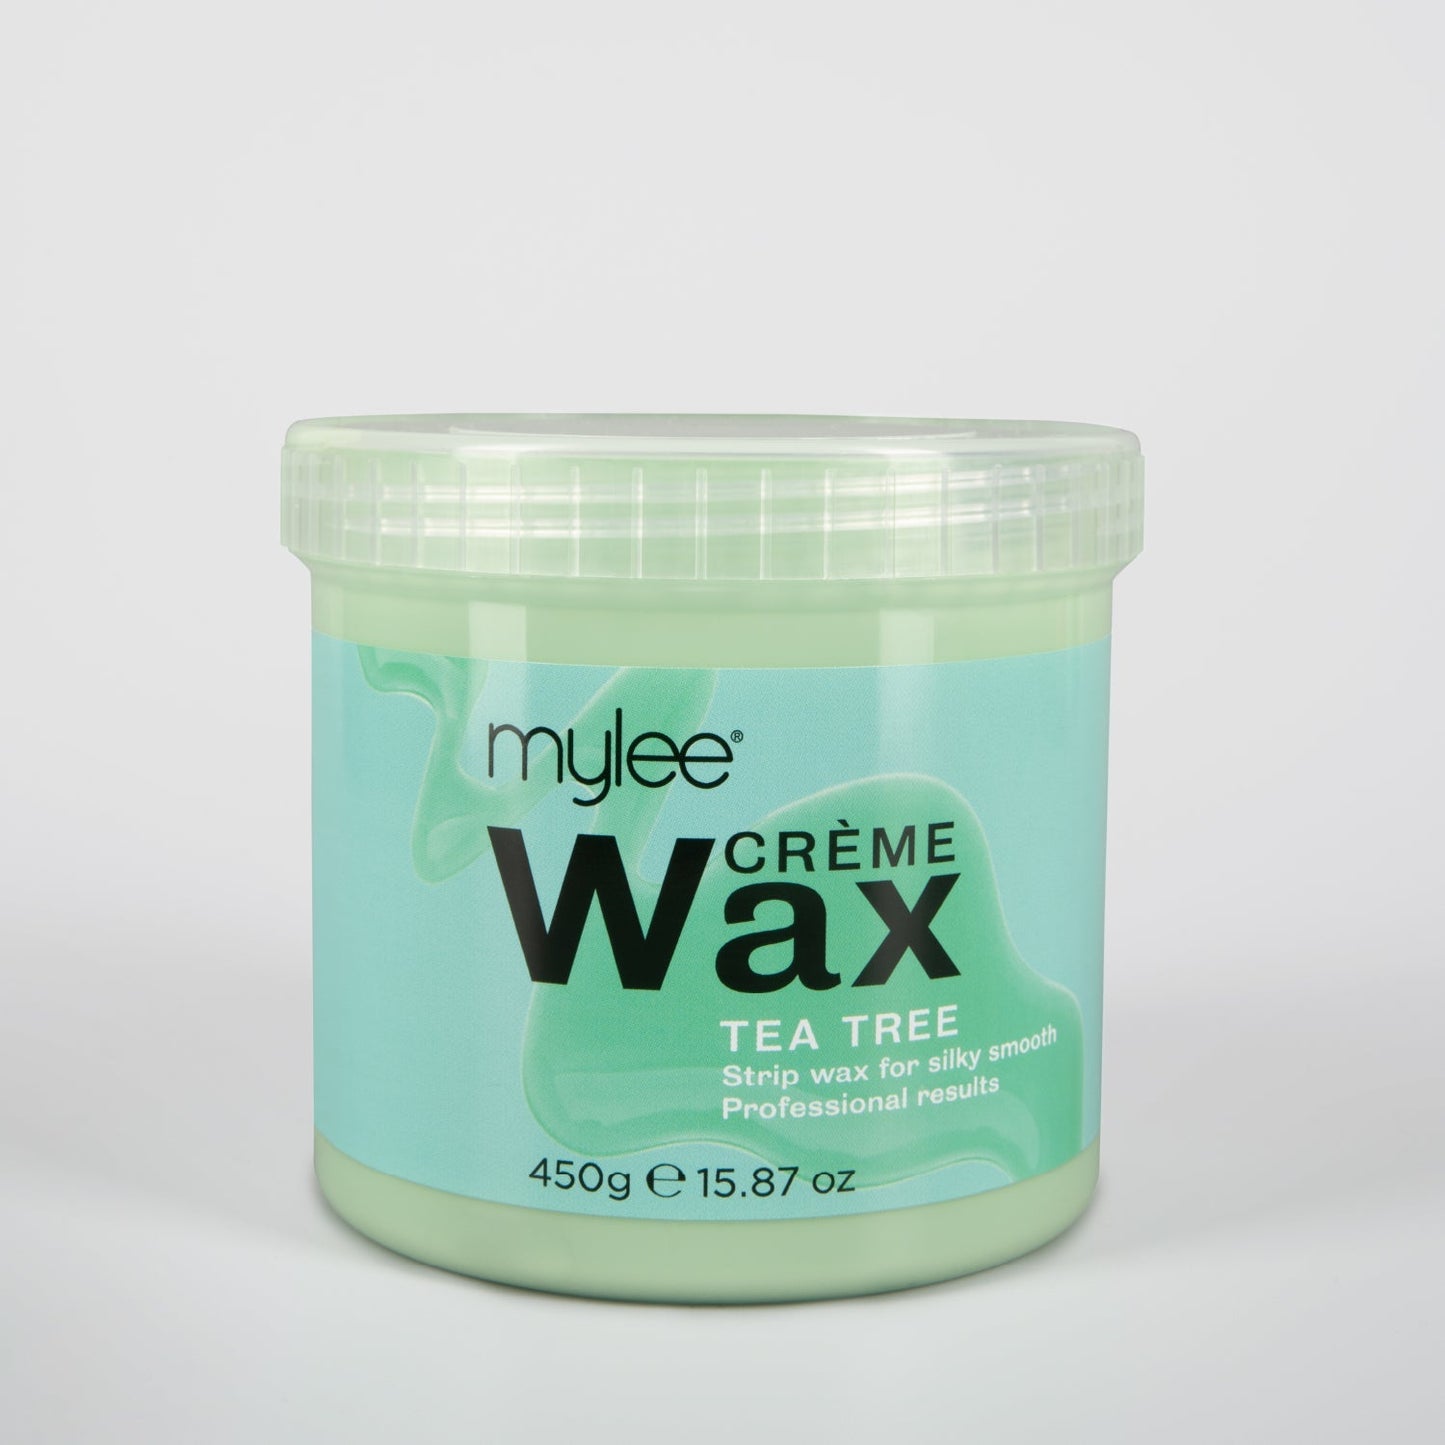
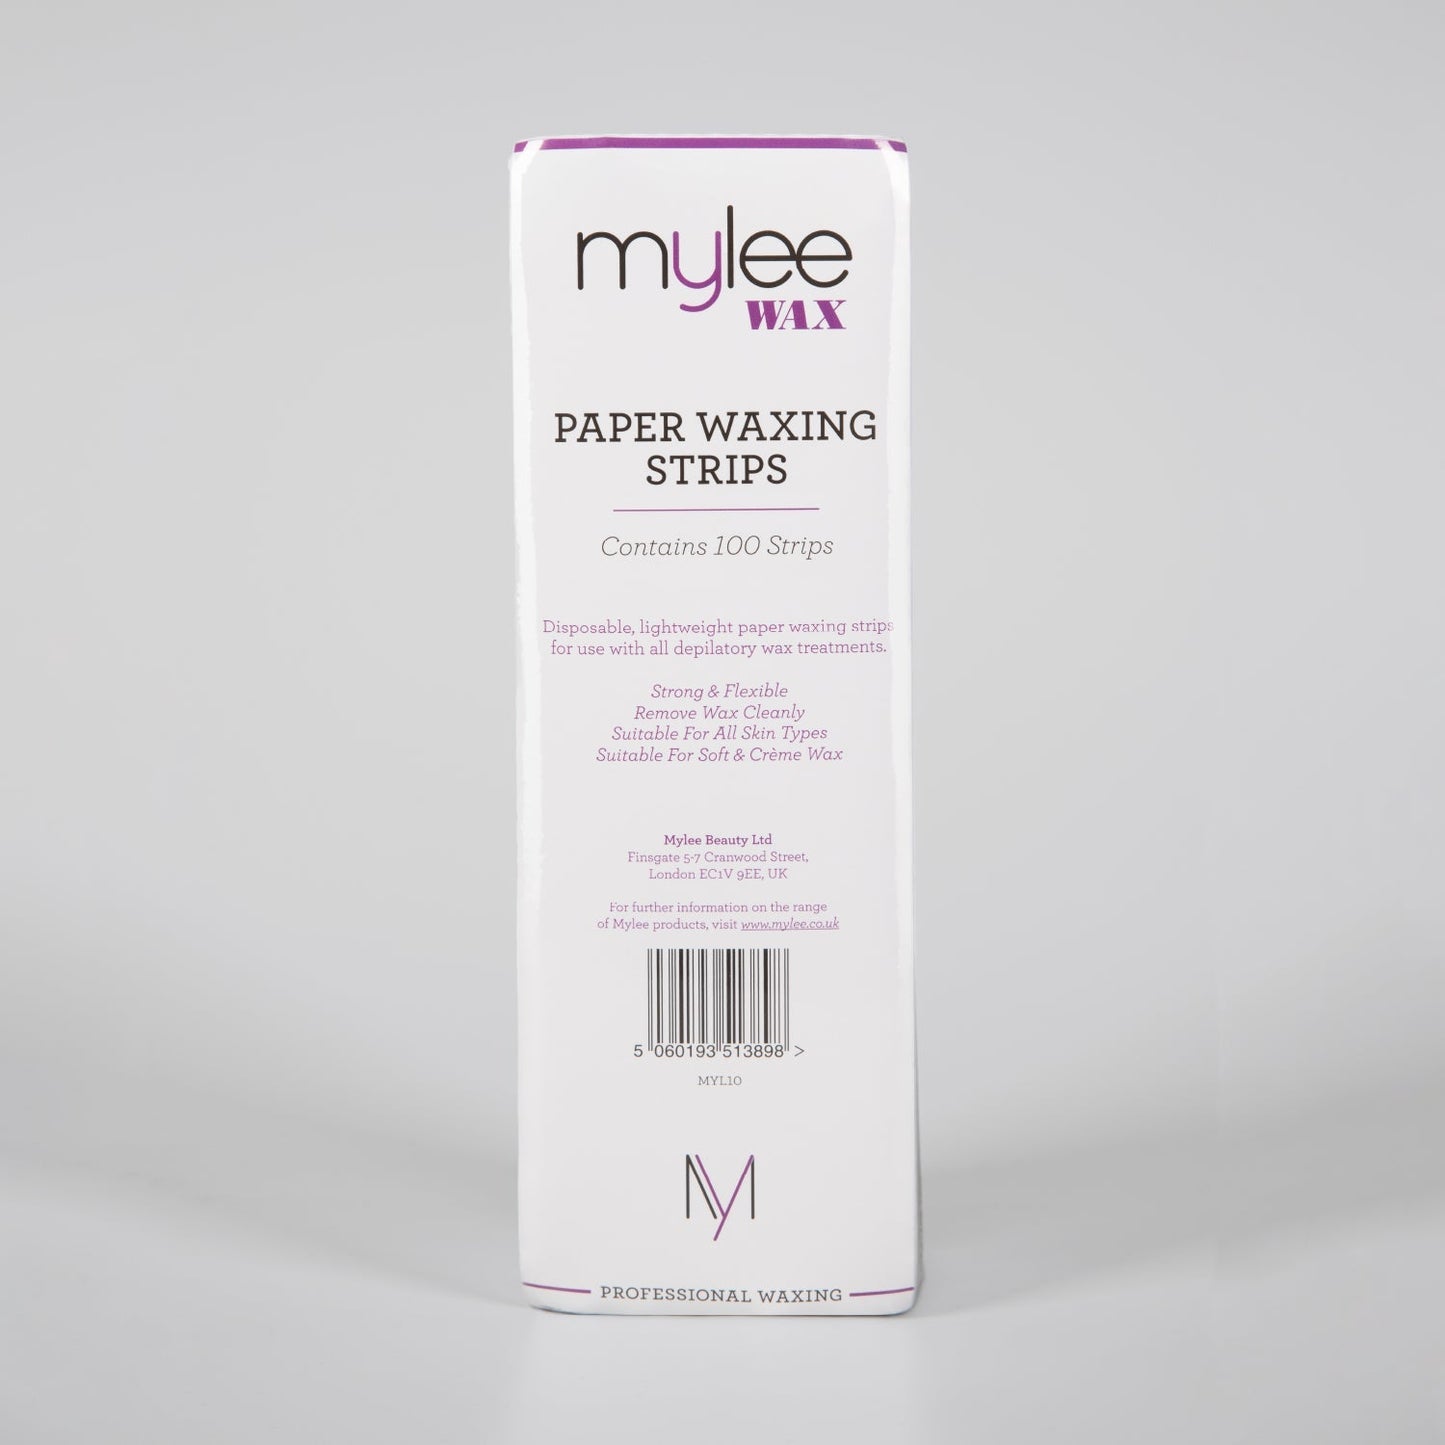
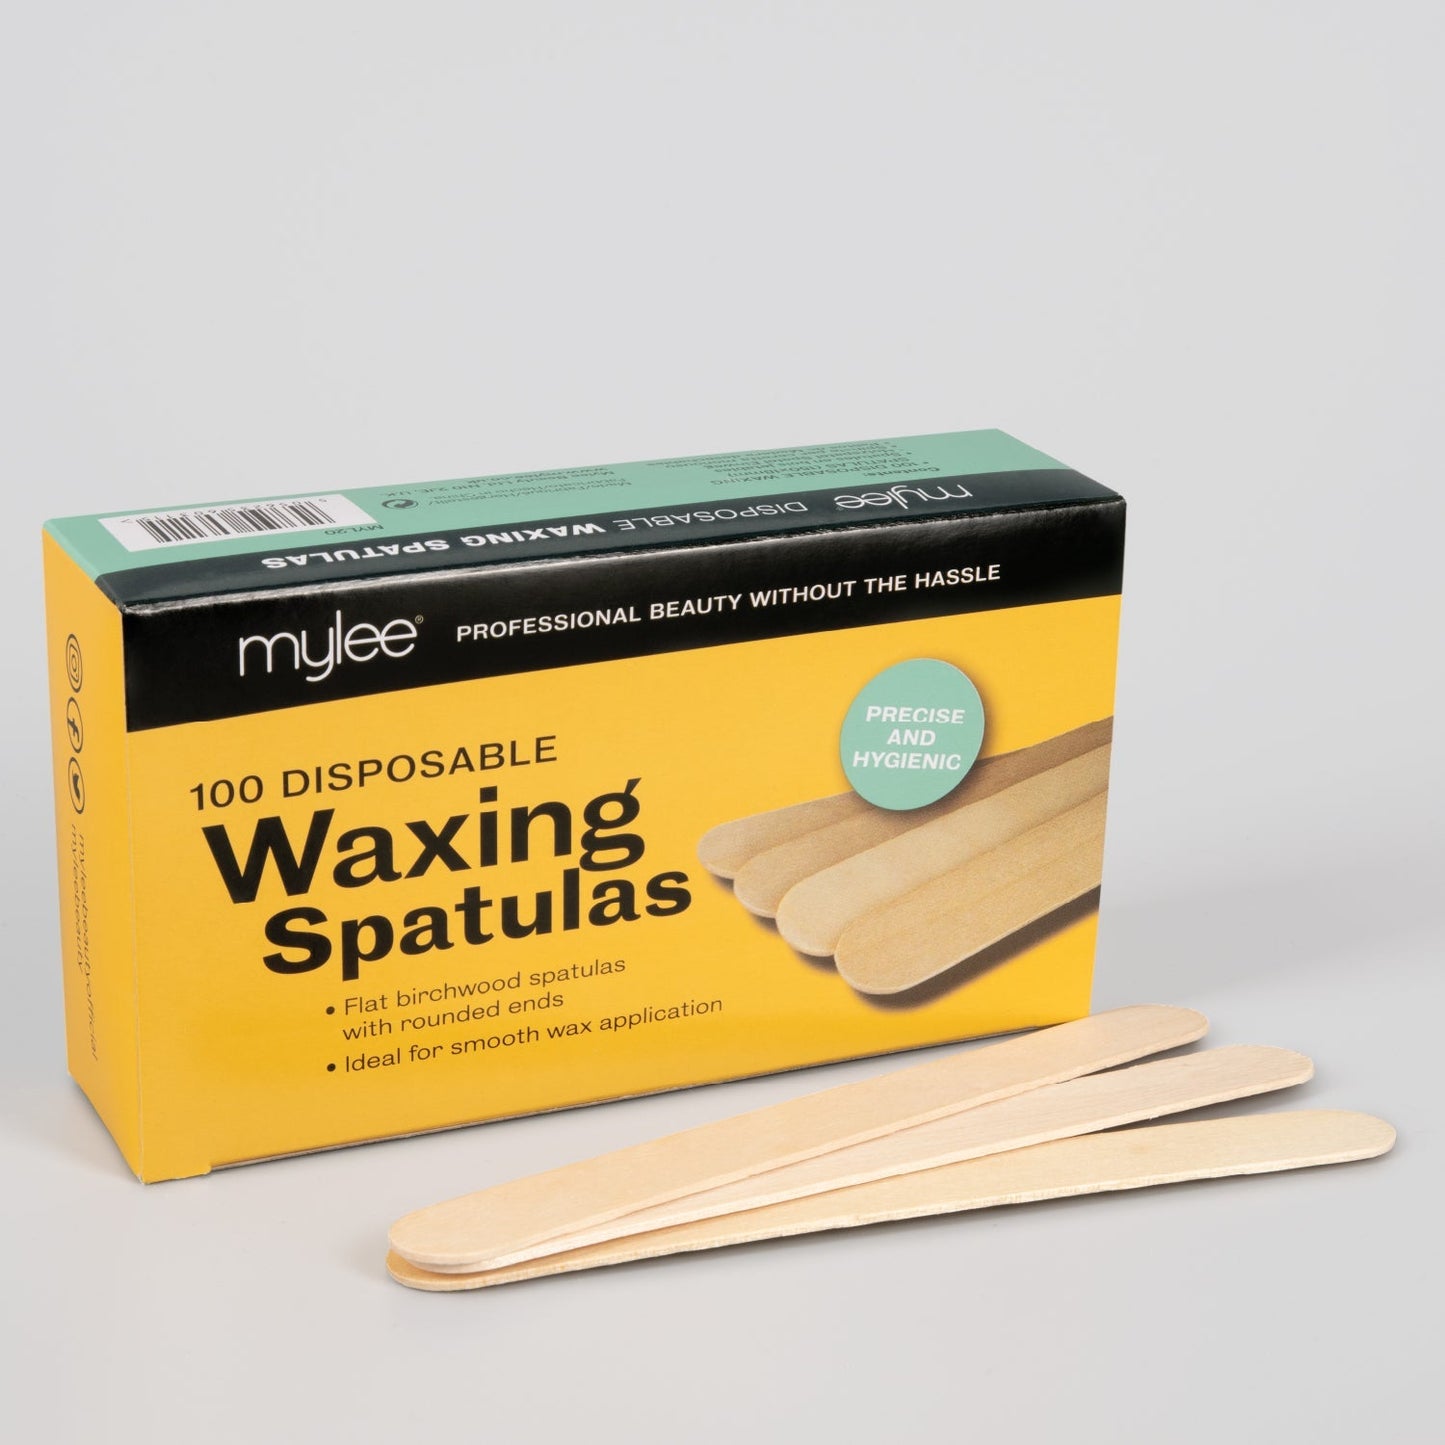
Kit contains: Professional Wax Heater, Tea Tree Creme Wax Pot, Disposable Waxing Spatulas (Pack of 100,) Paper Waxing Strips (Pack of 100,) Pre-Care Gel & After-Care Lotion
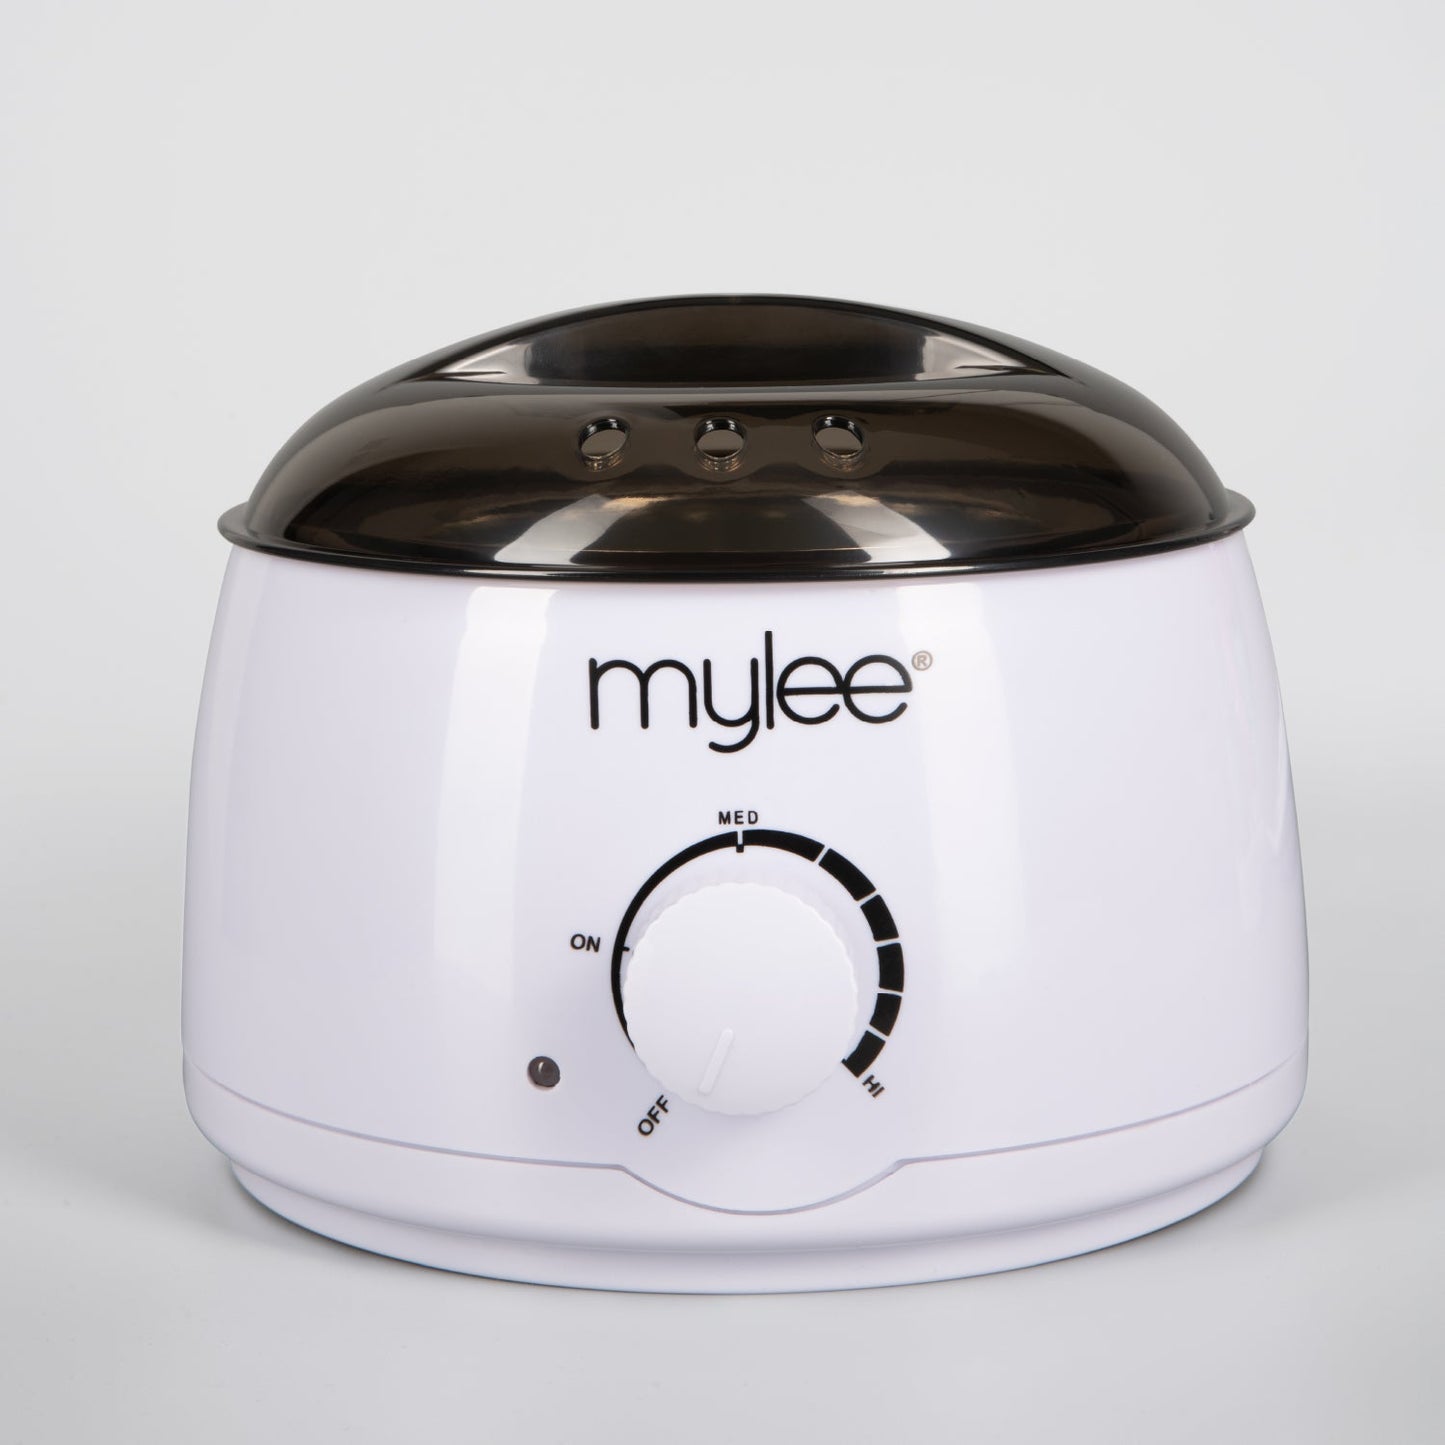
Professional Wax Heater comes with a 6 month warranty, holds all standard wax containers, is suitable for all hard, soft and paraffin waxes, has adjustable temperature and a removable metal inner pot.
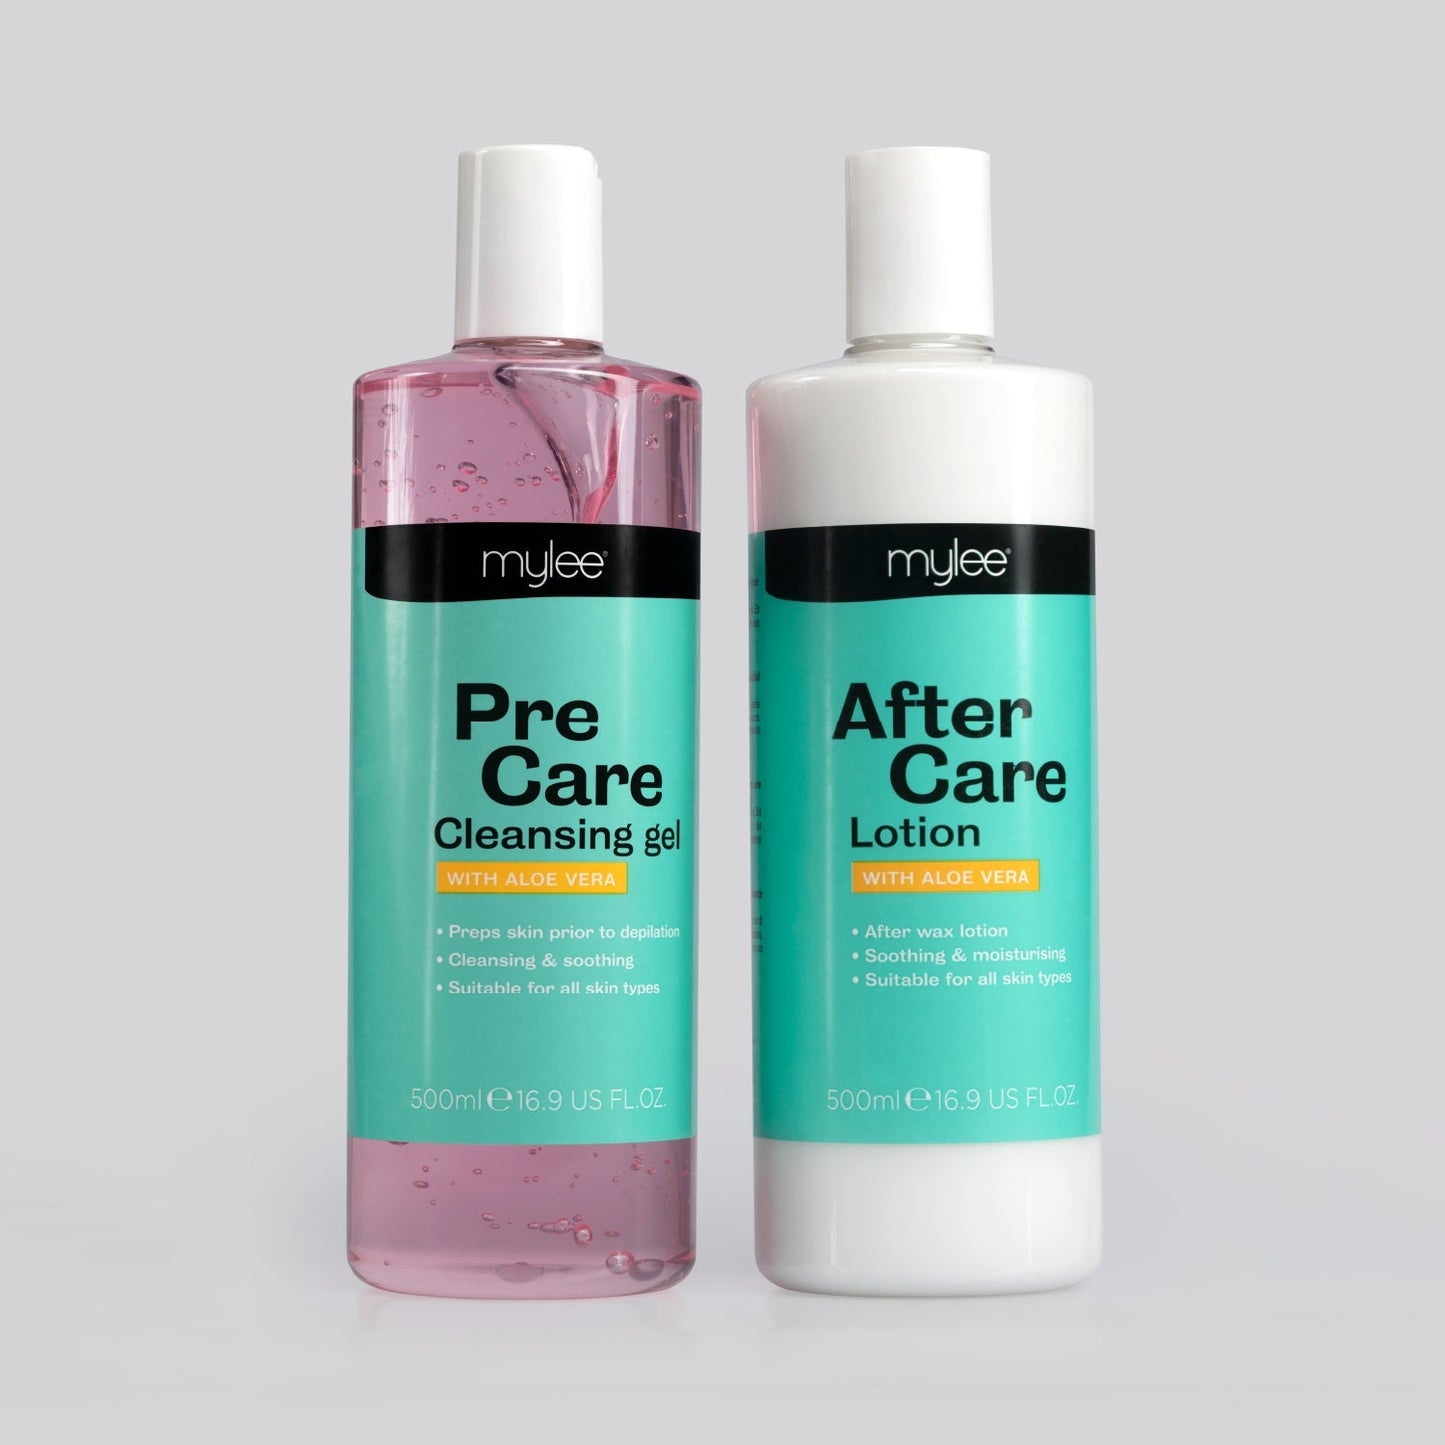
Pre-Care Gel will thoroughly cleanse the skin prior to depilation. It quickly & effectively removes excess surface oils, creams & makeup. Aloe Vera will soothe and calm the skin, and it is soap-free and suitable for all skin types
After-Care Lotion is a gentle and soothing after wax lotion enriched with Aloe Vera to deeply moisturise & rehydrate. Your skin will be intensively soothed & cooled eliminating any post depilatory discomfort. Suitable for all skin types.
We recommend all waxes are patch tested before use.
How To:
Step 1: Place the Crème Wax in the heater (remove bucket from heater for this step) and let heat up, always test the temperature on the inside of your wrist the wax should be warm and should
not burn the skin.
Step 2: Next you'll want to prepare the skin, massage the pre-wax care gel over the area you’d like to wax, this cleanses the skin and ensures there is no oil or residue left on the skin that could interfere with the end result. Wait for this to dry before applying any wax
Step 3: Using a spatula spread a layer of wax onto the area to be treated in the direction of hair growth.
Step 4: Add a wax strip over the the Crème Wax, and then pull off wax with a firm action against the direction of hair growth.
Step 5: Repeat until all hair is removed in the area.
Step 6: Gently massaging a small amount of after care lotion over the waxed area to cool, soothe and hydrate the skin.
Caution: Keep away from eyes, may cause serious eye irritation. May cause skin irritation or allergic skin reaction. Keep away from children.
Product Code: KIT-WAX-TEA-EU
How to use
How to use
STEP 1. HEAT
Place your Mylee Crème Wax pot directly into the Mylee Wax Heater* (remove the Mylee Silicone Jar if using the Mylee Digital Wax Heater or the Metal Pot if you’re using the Mylee Professional Wax Heater*). Allow the wax to melt to a smooth, spreadable consistency. Always test the temperature on the inside of your wrist - it should feel warm, never hot or uncomfortable.
STEP 2. PREP
Apply Mylee Pre Care Gel* to the area using a cotton pad* or clean hands to remove oil, makeup and impurities. Allow the skin to dry fully before waxing.
STEP 3. APPLY & REMOVE
Using a Mylee Disposable Spatula*, spread a thin, even layer of Mylee Crème Wax in the direction of hair growth. Work in small sections for best results. Immediately place a Mylee Paper Waxing Strip* over the wax, smoothing it down firmly. Hold the skin taut, then remove the strip in one quick motion against the direction of hair growth. Avoid waxing the same area more than twice.
STEP 4. FINISH & CARE
Apply Mylee Pre & Post Wax Oil* to remove any residue and help nourish the skin.
*Products sold separately.
Tips & Tricks
Tips & Tricks
Mastering the Mylee Advanced Stripless Wax is all about that "cool and pull" technique.
- Getting the temp right is everything. You want your wax to look like thick, gooey honey - not runny water!
Melt your wax using a high heat for about 15-20 minutes, then turn the dial down to medium. Our Digital wax Heater does this for you automatically! If the wax runs off your spatula instantly, it’s too hot. Let it sit for a minute until it stays on the stick for a few seconds when you twirl it.
- When you apply your wax in a strip, make sure the very end (where there is no hair) is a little bit thicker than the rest. This creates a "pull tab" or lip. It means you can get a firm grip and flick it back without having to pick at the edge.
- Don't be shy with that spatula! If you apply the wax too lightly, it won't "shrink-wrap" the hair.
- Use firm, even pressure when spreading the wax in the direction of hair growth. You want to really push the wax into the hair follicles so it grabs every single strand from the root.
- Hold the skin as taut as possible. When you pull the wax off, keep your hand parallel and close to the skin, pulling back in the opposite direction of growth. Think of it as a "flick" rather than a "lift" - it’s faster, smoother, and way less "ouchy."
- As soon as you’ve pulled the wax strip off, immediately press your palm firmly onto the skin for a few seconds. The pressure confuses your nerves and stops the "sting" before it even starts. Total game-changer!
- Use the Mylee Silicone Bucket for your beads. Once you’re finished and the wax has cooled completely, just "pop" the hardened wax disc out. You can save it for your next session or wipe the bucket clean in seconds. No mess, no stress.
Elevate your at-home waxing experience

Elevate your at-home waxing experience
-
Mylee The Massive Kit Gel Nail Polish Kit
Bestseller -
Mylee The Main Kit Gel Nail Polish Kit
-
Mylee The Mini Kit Gel Nail Polish Kit
-
-
Mylee Gel Nail Wraps - Sunset Boulevard Gel Nail Wraps
-
Mylee Gel Nail Wraps - Golden Era Gel Nail Wraps
-
Mylee Bond & Beyond Nail Treatment Duo Nail Care
-
Mylee Base & Top Coat Gel Polish Duo Top and Base Coat
-
Mylee 5-in-1 Builder Gel Polish - Clear Builder Gel


As Seen On You
Tag @mylee On Socials For Your Chance To Be Featured